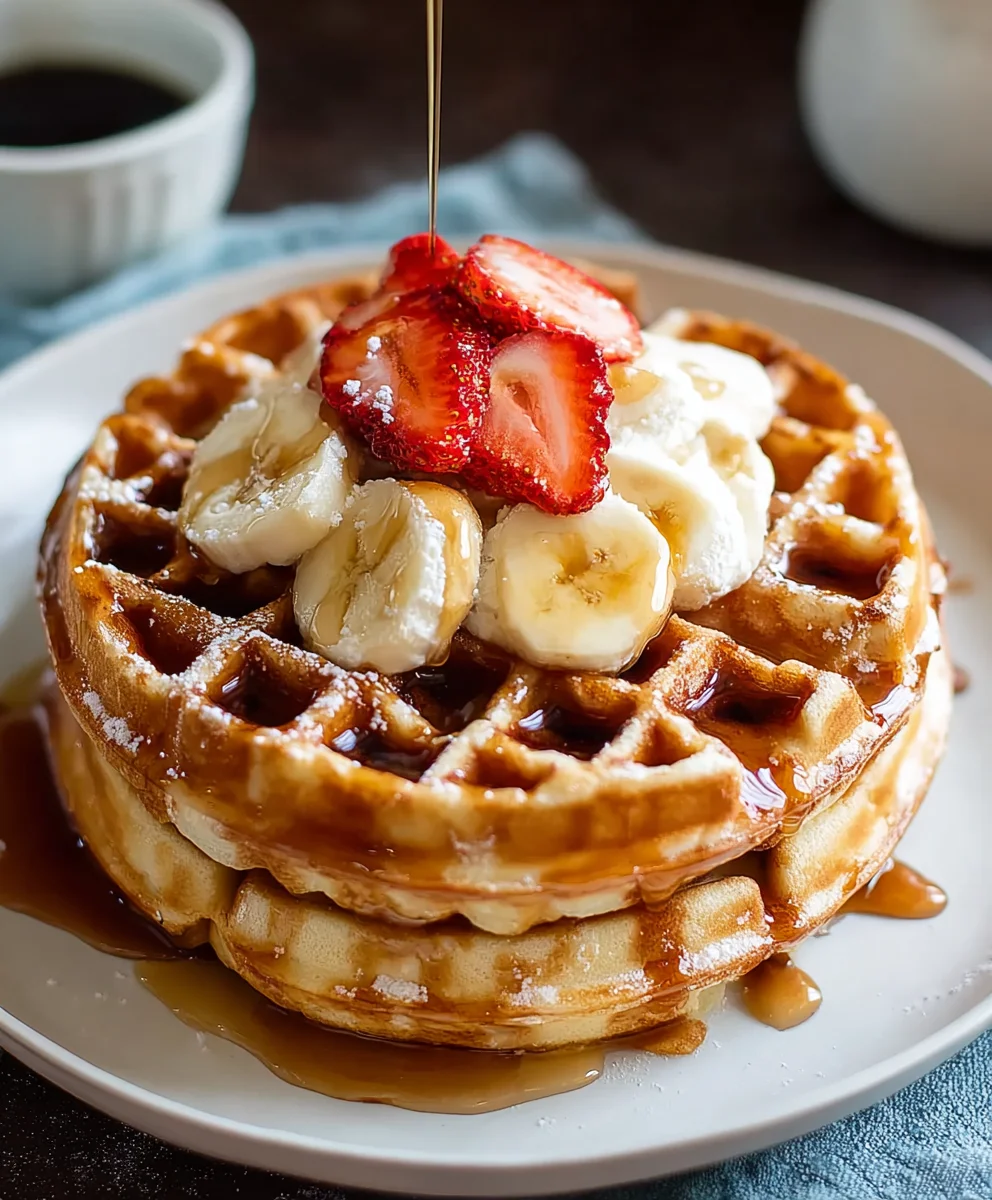
High Protein Waffles- Delicious & Easy Recipe
High protein waffles are more than just a breakfast option; they’re a game-changer for anyone looking to power up their morning without sacrificing deliciousness. Imagin extracte sinking your fork into a warm, fluffy waffle that not only tastes incredible but also provides a substantial dose of protein to keep you feeling full and energized for hours. That’s the magic of this recipe! We all love waffles for their comforting sweetness and perfect crispy edges, but often they come with a sugar and carb overload. These high protein waffles, however, offer a brilliant solution, marrying that beloved waffle experience with a nutritional boost that’s truly satisfying. What makes them so special? It’s the clever combination of simple, wholesome ingredients that come together to create a texture and flavor that rivals any traditional waffle, all while packing a protein punch that makes them a smart choice for post-workout refuels or simply a healthier start to your day.

Ingredients:
- ⅓ cup protein powder (32g) – I recommend a vanilla or unflavored whey or plant-based protein powder for the best flavor and texture.
- ¼ cup all-purpose flour (35g) – This provides just enough structure to bind everything together.
- 1 teaspoon baking powder – Essential for getting those fluffy, airy waffles!
- ⅛ teaspoon salt – A pinch of salt enhances all the other flavors.
- ½ cup water – This is the base liquid for our batter.
- ¼ cup egg whites or additional water – Egg whites add a bit of lift and protein, but if you prefer not to use them, extra water works perfectly fine.
- ¼ cup plain Greek yogurt or unsweetened applesauce – This is my secret to incredibly moist and tender waffles. Greek yogurt adds an extra protein boost!
- 2 tablespoons sweetener of choice – You can use maple syrup, honey, stevia, or your favorite sugar substitute. Adjust to your sweetness preference.
- 2 teaspoons neutral oil (optional for crispy waffles) – If you like your waffles with a delightful crisp on the outside, this is a must.
Making Your High Protein Waffles
Step 1: Gather and Measure
Before we begin extract mixing, it’s always a good idea to have all your ingredients measured out and ready to go. This ensures a smooth and efficient cooking process. I like to have everything within arm’s reach. For this recipe, measure out your protein powder, flour, baking powder, and salt into a medium-sized mixing bowl. Give these dry ingredients a quick whisk to ensure the baking powder and salt are evenly distributed throughout the flour and protein powder. This helps prevent dense spots in your waffles.
Step 2: Combine the Wet Ingredients
In a separate, smaller bowl or a large liquid measuring cup, combine your wet ingredients. Pour in the water, followed by the egg whites (or the additional water if you’re skipping the egg whites). Add the Greek yogurt or applesauce, and then your chosen sweetener. If you’re using oil for crispier waffles, you can add it here as well, or save it for greasing your waffle iron. Whisk these wet ingredients together until they are well combined and the yogurt or applesauce is mostly smooth. Don’t worry about any tiny lumps; they won’t affect the final outcome.
Step 3: Mix the Batter
Now comes the fun part! Create a well in the center of your dry ingredients. Pour the combined wet ingredients into this well. Using a whisk or a spatula, gently mix the wet and dry ingredients together until just combined. Be careful not to overmix the batter. Overmixing can develop the gluten in the flour too much, resulting in tough waffles. A few small lumps are perfectly acceptable and actually preferred for a tender texture. The batter should be thick but pourable. If it seems too thick, you can add a tablespoon of water at a time until you reach your desired consistency.
Step 4: Heat and Prepare Your Waffle Iron
While your batter is resting for a minute or two, it’s time to get your waffle iron ready. Preheat your waffle iron according to the manufacturer’s instructions. Most waffle irons have an indicator light that tells you when they’re hot enough. Once preheated, lightly grease the waffle iron with a little oil or cooking spray, especially if it’s not a non-stick model. This is crucial to prevent the waffles from sticking and ensures they release cleanly, giving you beautiful, golden-brown results. If you decided to add oil to your batter in Step 2, you can skip this step of greasing the iron, but it’s still good practice to do a light coating on the first waffle.
Step 5: Cook to Golden Perfection
Carefully ladle the batter onto the preheated and greased waffle iron. Use enough batter to fill the iron without overflowing – typically about ½ to ¾ cup per waffle, depending on the size of your iron. Close the lid gently. Cook for the time recommended by your waffle iron’s manual, usually 3-5 minutes, or until the waffle is golden brown and cooked through. You’ll know it’s ready when the steam stops coming from the sides of the iron. Once cooked, carefully remove the waffle using a fork or spatula and place it on a wire rack to cool slightly. This prevents the bottom from becoming soggy. Repeat with the remaining batter, ensuring you re-grease the iron lightly between each waffle if needed. Serve immediately with your favorite toppings!
Conclusion:
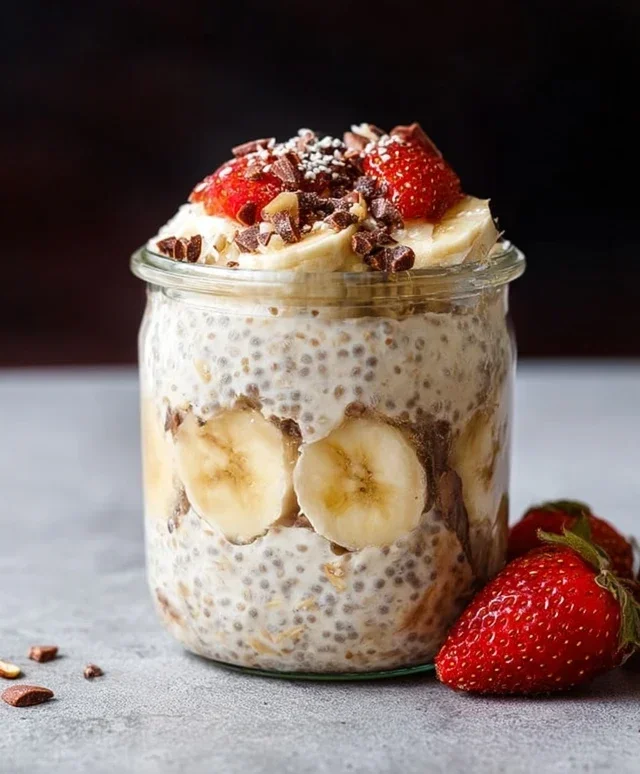
You’ve now learned how to create delicious and satisfying High Protein Waffles that are perfect for a healthy breakfast, a post-workout meal, or even a light dinner. This recipe offers a fantastic way to boost your protein intake without sacrificing taste or texture. The beauty of these waffles lies in their versatility, allowing you to customize them to your heart’s content. Serve them warm with your favorite toppings like fresh berries, a drizzle of maple syrup, a dollop of Greek yogurt, or a sprinkle of chopped nuts for added crunch and nutrients. Don’t be afraid to experiment with different protein powders to discover new flavor profiles – vanilla, chocolate, or even unflavored can all work wonderfully. You can also incorporate fruits like mashed banana or blueberries directly into the batter for extra flavor and fiber. I encourage you to try this recipe and make it your own. Enjoy every bite of these wholesome and guilt-free treats!
Frequently Asked Questions:
Can I make High Protein Waffles ahead of time?
Yes, absolutely! You can make a batch of High Protein Waffles and store them in an airtight container in the refrigerator for up to 2-3 days. They also freeze beautifully. Simply cool them completely, then wrap them individually in parchment paper before placing them in a freezer-safe bag or container. Reheat them in a toaster or oven for a quick and easy meal.
What is the best type of protein powder to use for High Protein Waffles?
Whey protein and casein protein are excellent choices for High Protein Waffles as they provide a complete amino acid profile and contribute to a good texture. Plant-based protein powders like pea or soy protein can also be used, though you might need to adjust the liquid slightly as they can absorb moisture differently. Experimenting with flavored protein powders can add another layer of deliciousness to your waffles.
High Protein Waffles – Delicious & Easy Recipe
A simple and delicious recipe for high-protein waffles that are fluffy, tender, and customizable.
Ingredients
-
⅓ cup protein powder (32g)
-
¼ cup all-purpose flour (35g)
-
1 teaspoon baking powder
-
⅛ teaspoon salt
-
½ cup water
-
¼ cup egg whites
-
¼ cup plain Greek yogurt
-
2 tablespoons sweetener of choice
-
2 teaspoons neutral oil (optional)
Instructions
-
Step 1
Gather and measure all your dry ingredients: protein powder, flour, baking powder, and salt into a medium-sized mixing bowl. Whisk them together to ensure even distribution. -
Step 2
In a separate bowl, combine the wet ingredients: water, egg whites (or additional water), Greek yogurt (or applesauce), and your chosen sweetener. Whisk until well combined. -
Step 3
Create a well in the dry ingredients and pour in the wet ingredients. Gently mix until just combined. Avoid overmixing; a few lumps are acceptable. -
Step 4
Preheat your waffle iron according to the manufacturer’s instructions. Lightly grease the waffle iron to prevent sticking. -
Step 5
Ladle about ½ to ¾ cup of batter onto the hot waffle iron. Close the lid and cook for 3-5 minutes, or until golden brown and cooked through. -
Step 6
Carefully remove the waffle and place it on a wire rack to cool slightly. Repeat with the remaining batter. Serve immediately with your favorite toppings.
Important Information
Nutrition Facts (Per Serving)
It is important to consider this information as approximate and not to use it as definitive health advice.
Allergy Information
Please check ingredients for potential allergens and consult a health professional if in doubt.