Gluten-Free Sweet Potato Tortillas – Vegan Wraps
Sweet Potato Tortillas (Gluten-Free Vegan Wraps) are more than just a simple meal accompaniment; they’re a vibrant explosion of flavor and a testament to how deliciously accommodating plant-based and gluten-free eating can be. I’ve always been on the hunt for wraps that not only satisfy dietary needs but also elevate every bite, and these sweet potato tortillas absolutely nail it. What’s not to love? They’re naturally sweet from the star ingredient, incredibly versatile, and boast a beautiful, earthy hue that makes any dish look as good as it tastes. Forget dry, crum extractbly substitutes; these gluten-free vegan wraps are wonderfully soft, pliable, and hold up beautifully to all your favorite fillings, from hearty stews to fresh salads. They’ve become a staple in my kitchen, and I’m so excited to share this recipe for sweet potato tortillas with you!
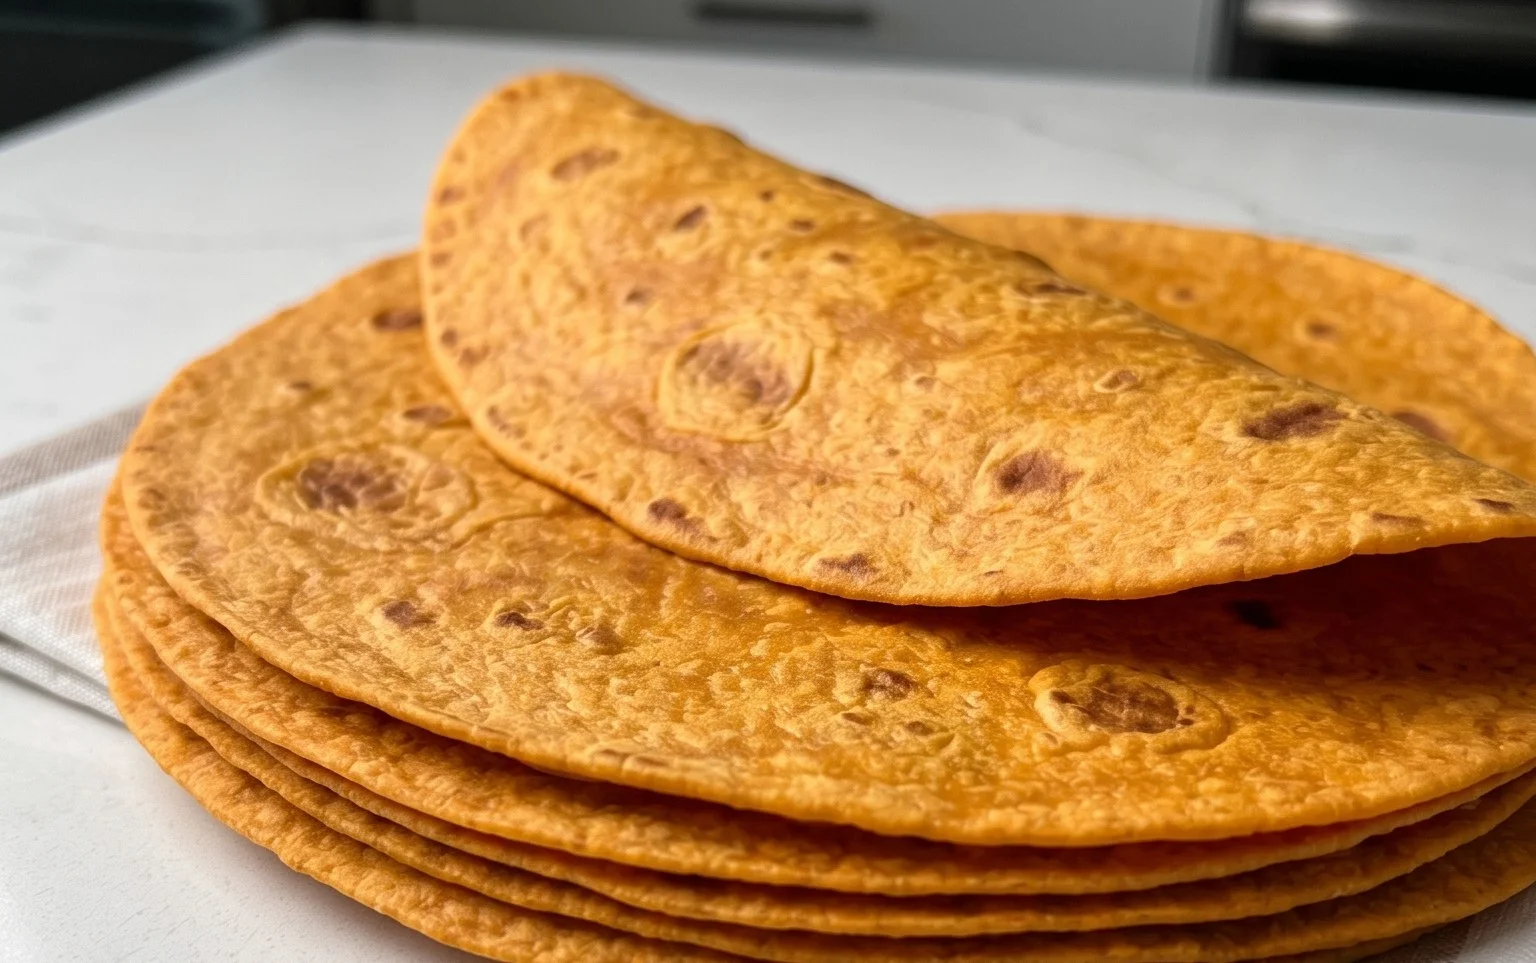
Sweet Potato Tortillas (Gluten-Free Vegan Wraps)
Hello fellow food enthusiasts! Today, I’m thrilled to share a recipe that has become a staple in my kitchen: these incredibly flavorful and wonderfully pliable Sweet Potato Tortillas. If you’re looking for a gluten-free and vegan wrap that doesn’t compromise on taste or texture, you’ve come to the right place. These tortillas are not only a healthier alternative to traditional flour tortillas but also pack a delightful sweetness and earthy undertones from the sweet potato. They’re perfect for your favorite tacos, burritos, quesadillas, or even just as a base for a savory breakfast wrap. The vibrant orange hue from the sweet potato is also a beautiful addition to any meal.
Let’s get started on creating these delicious gluten-free vegan wonders!
Ingredients:
Cooking Instructions:
Let’s dive into the process of making these fantastic sweet potato tortillas. The key to success here is a well-mashed sweet potato and a little patience.
Step 1: Prepare the Sweet Potato Mash
Begin extract by ensuring your sweet potatoes are thoroughly cooked until fork-tender. The best way to achieve this without adding extra moisture is to steam them or bake them. Once cooked, allow them to cool slightly so you can handle them. The crucial part is to mash them very smoothly. You can use a potato masher, a fork, or even a food processor for an ultra-smooth consistency. It’s vital to avoid any lumps, as these can create tears in your tortillas later on. If, by chance, your sweet potato seems a little watery after mashing, you can gently warm it in a non-stick pan over low heat for a few minutes, stirring constantly, to evaporate any excess moisture. This will result in a thicker, more manageable dough.
Step 2: Combine the Wet and Dry Ingredients
In a large mixing bowl, combine your smooth sweet potato mash with the vegan butter (or oil), 1 tablespoon of hot water, sea salt, black pepper, onion powder, and garlic powder. Stir everything together until it’s well incorporated. The mixture should be creamy and fragrant. Next, add your active gluten-free sourdough starter. Give it a gentle mix. Now, it’s time to introduce the binding agents. Sprinkle in the psyllium husk and the arrowroot flour. If you’re opting for the optional baking powder for extra puffiness, add that in now as well.
Step 3: Form the Dough
This is where the magic starts to happen. Begin extract to mix the ingredients together. Initially, you might find it a bit sticky. You can use a spatula or a sturdy spoon to combine everything. As you mix, the psyllium husk will start to absorb moisture and the dough will begin extract to come together. If the dough feels excessively dry and isn’t forming a cohesive ball, add the remaining tablespoon of hot water, a teaspoon at a time, until the dough just starts to pull away from the sides of the bowl. Be careful not to add too much water, as this can make the dough too wet and difficult to work with. You’re aiming for a pliable, slightly sticky dough that holds its shape but isn’t gummy. Once it starts to come together, you can switch to using your hands to knead it gently in the bowl for about a minute or two. This helps to further develop the structure.
Step 4: Rest and Divide the Dough
Cover the bowl with a damp cloth or plastic wrap and let the dough rest for at least 15-30 minutes. This resting period is essential for the psyllium husk to fully hydrate, which will make the dough much easier to handle and create a more flexible tortilla. After resting, the dough should feel less sticky and more manageable. Lightly dust a clean work surface with a bit more arrowroot flour. Turn the dough out onto the floured surface. Divide the dough into equal portions. For medium-sized tortillas, I usually get about 6-8 from this recipe. Roll each portion into a smooth ball.
Step 5: Shape the Tortillas
Now it’s time to shape our tortillas. You have a couple of options here. You can use a tortilla press if you have one – simply place a dough ball between two pieces of parchment paper and press. Alternatively, you can use a rolling pin. On your lightly floured surface, take one dough ball and gently flatten it with your palm. Then, using a rolling pin, roll it out into a thin circle, about 6-8 inches in diameter. Aim for an even thickness, as this will ensure they cook evenly. Don’t worry if your circles aren’t perfectly round; rustic is beautiful! Repeat this with the remaining dough balls, stacking them between pieces of parchment paper to prevent sticking if you’re making them ahead of time.
Step 6: Cook the Tortillas
Heat a dry, non-stick skillet or griddle over medium-high heat. You don’t need any oil for cooking these tortillas. Once the pan is hot (a drop of water should sizzle and evaporate quickly), carefully place one shaped tortilla onto the hot surface. Cook for about 1-2 minutes per side, or until small golden-brown spots appear and the tortilla starts to puff up slightly. You’ll see little bubbles forming on the surface. Flip it over with a spatula and cook the other side for another 1-2 minutes. The exact cooking time will depend on the thickness of your tortilla and the heat of your pan. Avoid overcooking, as this can make them brittle.
Step 7: Cool and Store
As each tortilla is cooked, immediately stack them on a plate and cover them with a clean kitchen towel. The steam from the hot tortillas will help them to stay soft and pliable. This is a crucial step for achieving that perfect tortilla texture. Once all the tortillas are cooked, you can serve them warm or allow them to cool completely. They store well in an airtight container or a resealable bag in the refrigerator for up to 3-4 days. You can also freeze them for longer storage; just make sure to separate them with parchment paper. Reheat gently in a dry skillet, microwave, or oven.
Enjoy your homemade Sweet Potato Tortillas! They are a testament to how delicious and satisfying gluten-free and vegan cooking can be.
Conclusion:
I hope you’re as excited about these Sweet Potato Tortillas (Gluten-Free Vegan Wraps) as I am! They’re a truly fantastic alternative to traditional wraps, offering a delightful hint of sweetness from the sweet potato, a wonderfully soft and pliable texture, and the best part? They’re completely gluten-free and vegan, making them an inclusive and incredibly versatile option for so many meals. Whether you’re looking for a healthier lunch wrap, a base for breakfast burritos, or even a fun base for a pizza, these tortillas deliver. I encourage you to give them a try; you might be surprised at how easy and rewarding they are to make, and how delicious they are! Embrace this wholesome and delicious way to enjoy your favorite fillings.
Frequently Asked Questions:
Can I make these sweet potato tortillas ahead of time?
Absolutely! Once cooled, you can store these sweet potato tortillas in an airtight container at room temperature for up to 2 days, or in the refrigerator for up to 4-5 days. They also freeze beautifully for longer storage. Simply thaw them overnight in the refrigerator or gently warm them in a skillet or microwave before serving.
What are some creative filling ideas for these wraps?
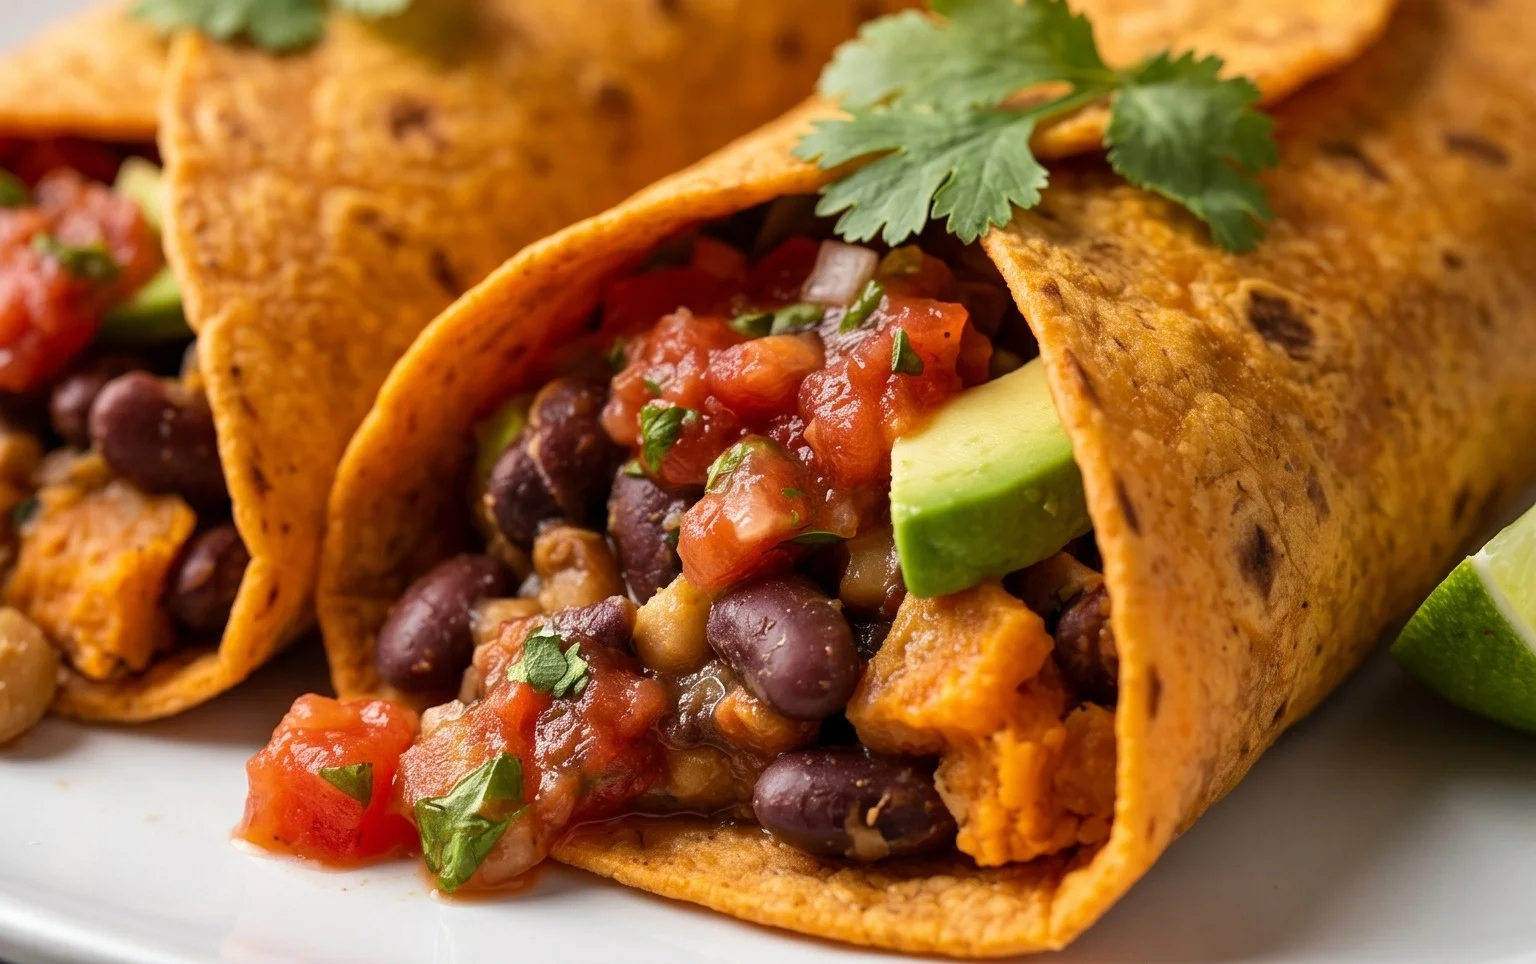
The possibilities are endless! For savory options, try black beans and corn with salsa, seasoned tofu crum extractbles with avocado, or even a hearty lentil shepherd’s pie filling. For a sweeter twist, consider a nut butter and banana filling, or a fruit and yogurt parfait wrapped up. They’re also wonderful served warm with a side of hummus or your favorite dip.
My tortillas are a bit crum extractbly. What did I do wrong?
A slightly crum extractbly texture can sometimes happen if the sweet potato mixture is too dry. Ensure your mashed sweet potato is moist but not watery. You can add a tablespoon of water or non-dairy milk at a time to the dough if it seems too dry and isn’t coming together. Also, remember to let the cooked sweet potato cool before incorporating it into the dough.
Sweet Potato Tortillas (Gluten-Free Vegan Wraps)
Delicious and healthy gluten-free vegan wraps made with sweet potato.
Ingredients
-
2 small sweet potatoes – steamed or boiled (no liquid / mashed)
-
2 tbsp vegan butter
-
1-2 tbsp hot water
-
3/4 tsp sea salt
-
1/4 tsp black pepper
-
1/2 tsp onion powder
-
1/2 tsp garlic powder
-
3/4 cup gluten free sourdough starter
-
2 tsp psyllium husk
-
2-3 tbsp arrowroot flour
-
1/2 tsp baking powder
Instructions
-
Step 1
Mash the steamed or boiled sweet potatoes thoroughly until smooth. -
Step 2
In a bowl, combine mashed sweet potato, vegan butter, hot water, sea salt, black pepper, onion powder, and garlic powder. Mix well. -
Step 3
Stir in the gluten-free sourdough starter and psyllium husk. Mix until combined. -
Step 4
Gradually add the arrowroot flour and baking powder (if using), mixing until a cohesive dough forms. It should be slightly sticky but manageable. -
Step 5
Divide the dough into 6-8 equal portions and roll each into a ball. -
Step 6
On a lightly floured surface (with arrowroot flour), roll out each dough ball thinly into a tortilla shape. -
Step 7
Heat a lightly oiled griddle or non-stick pan over medium heat. Cook each tortilla for 2-3 minutes per side, until lightly browned and cooked through.
Important Information
Nutrition Facts (Per Serving)
It is important to consider this information as approximate and not to use it as definitive health advice.
Allergy Information
Please check ingredients for potential allergens and consult a health professional if in doubt.