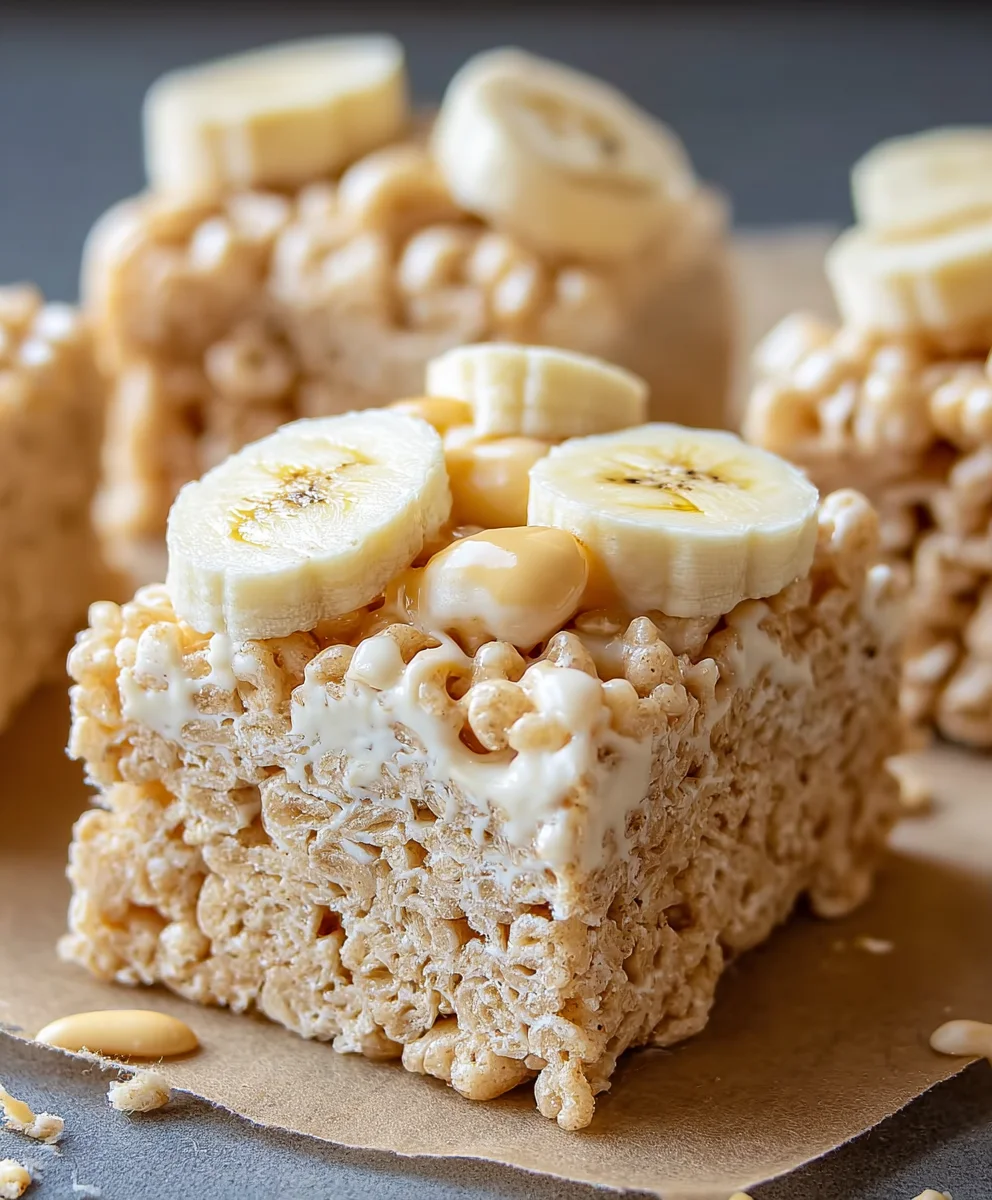
Banana Pudding Rice Krispie Treats – Easy Dessert
Banana Pudding Rice Krispie Treats are more than just a nostalgic nod to childhood favorites; they’re a revelation in texture and flavor. Imagin extracte the familiar, satisfying crunch of a classic Rice Krispie treat, now infused with the creamy, comforting essence of banana pudding. This isn’t your average cereal bar; it’s an elevated experience that captures the heartwarming appeal of both beloved desserts. People adore Banana Pudding Rice Krispie Treats because they deliver an instant hit of happy memories, a taste of simpler times, all wrapped up in a delightfully chewy and sweet package. What truly sets these apart is the ingenious combination of elements: the airy crispiness of the cereal, the gooey richness of marshmallows, and that unmistakable, mellow sweetness of banana, all coming together to create a truly unique and utterly irresistible treat that will have everyone asking for seconds.
Ingredients:
- 3 tablespoons butter, melted
- 1 (10 oz) bag marshmallows
- 1 (3.4 oz) box instant banana pudding mix
- 6 cups Rice Krispies cereal
- Crushed Nilla Wafers (for topping)
Preparing Your Banana Pudding Rice Krispie Treats
Gathering Your Supplies
Before we dive into the deliciousness, let’s make sure you have everything ready. You’ll need a large pot or Dutch oven, a spatula or wooden spoon, a 9×13 inch baking pan, and parchment paper or cooking spray for greasing. Having your ingredients measured out and ready to go will make the process much smoother and more enjoyable. Melting the butter in advance is a good first step, as is having your Rice Krispies cereal measured and easily accessible. Ensure your box of instant banana pudding mix is open and ready for incorporation.
The Melting Magic
Step 1: Melt the Butter and Marshmallows
Begin extract by placing your large pot or Dutch oven over medium-low heat. Add the 3 tablespoons of melted butter to the pot. Once the butter is shimmering, gradually add the entire 10 oz bag of marshmallows. Stir constantly with your spatula or wooden spoon. It’s important to keep stirring to prevent the marshmallows from scorching on the bottom of the pot. You’re looking for the marshmallows to be completely melted and smooth, with no lumps remaining. This process usually takes about 5-7 minutes. A consistent, low heat is key here; too high and you risk burning the marshmallows, which will affect the flavor of your treats.
Introducing the Banana Flavor
Step 2: Incorporate the Banana Pudding Mix
Once the marshmallows are fully melted and smooth, remove the pot from the heat. This is crucial because we want to add the pudding mix while the marshmallow mixture is still hot enough to melt it, but not so hot that it cooks the pudding powder. Immediately add the entire 3.4 oz box of instant banana pudding mix to the melted marshmallow mixture. Stir vigorously until the pudding mix is completely incorporated and no dry pockets remain. You’ll notice the mixture will start to take on a lovely pnon-alcoholic ale yellow hue and a delightful banana aroma. Continue stirring for at least 1-2 minutes to ensure everything is thoroughly combined and the pudding flavor is evenly distributed. Don’t rush this step; thorough mixing now means better flavor distribution throughout your treats.
The Crispy Combination
Step 3: Fold in the Rice Krispies Cereal
Now it’s time for the star of the show – the Rice Krispies cereal! Gently fold the 6 cups of Rice Krispies cereal into the marshmallow and pudding mixture. Use your spatula to carefully coat all the cereal pieces. It’s important to fold rather than stir vigorously at this stage. We want to coat the cereal without crushing it, which will help maintain the signature crispiness of the treats. Continue folding until every single piece of cereal is coated with the sticky, banana-flavored marshmallow mixture. This might take a minute or two, and it’s a good arm workout! Ensure there are no dry clumps of cereal left at the bottom of the pot.
Forming and Pressing Your Treats
Step 4: Press into the Prepared Pan
Lightly grease your 9×13 inch baking pan with cooking spray or line it with parchment paper, leaving some overhang for easy removal later. This step is essential to prevent your delicious treats from sticking. Spoon the Rice Krispie mixture into the prepared pan. Now, here’s a pro tip for smooth, even treats: lightly dampen your hands with water or use a piece of parchment paper to gently press the mixture evenly into the pan. Avoid pressing down too hard, as this can make the treats dense and chewy rather than light and airy. You want a nice, even layer so that each treat has the same perfect texture. Take your time to get the surface as smooth as possible.
The Finishing Touch
Step 5: Top with Crushed Nilla Wafers and Let Set
While the treats are still slightly warm and pliable, sprinkle a generous amount of crushed Nilla Wafers over the top. Gently press them into the surface so they adhere. This adds an extra layer of vanilla crunch that perfectly complements the banana flavor and the familiar cereal crispiness. You can be as liberal or as conservative with the wafer topping as you like! Allow the treats to sit and set in the pan for at least 30 minutes, or until firm to the touch. This setting time is important for the treats to hold their shape properly when cut. For even cleaner cuts, you can even place the pan in the refrigerator for about 15-20 minutes once they’ve cooled slightly.
Cutting and Serving Your Masterpiece
Once the Banana Pudding Rice Krispie Treats have set completely, use the parchment paper overhang to lift the entire slab out of the pan. Place it on a cutting board and use a sharp knife to cut into your desired squares or rectangles. For the cleanest cuts, wipe your knife with a damp cloth between cuts. These treats are best enjoyed at room temperature. You can store any leftovers in an airtight container at room temperature for up to 3 days. Enjoy the delightful combination of chewy, crispy, banana-y goodness!
Conclusion:
You’ve now unlocked the secret to creating incredibly delicious Banana Pudding Rice Krispie Treats! This recipe offers a delightful twist on a classic, infusing the comforting flavors of banana pudding into the irresistible crunch of Rice Krispie treats. The combination is surprisingly harmonious and guaranteed to be a hit with both kids and adults alike. These treats are surprisingly simple to whip up, making them perfect for last-minute cravings, potlucks, or just a fun afternoon activity.
I love serving these Banana Pudding Rice Krispie Treats as a sweet snack, alongside a glass of cold milk, or even as a unique dessert after a casual dinner. For a fancier presentation, you could drizzle them with a little extra melted white chocolate or sprinkle them with toasted coconut flakes. Don’t be afraid to experiment with variations! You could add mini chocolate chips, a swirl of peanut butter, or even a pinch of cinnamon for a different flavor profile. The possibilities are endless, so have fun with it!
I truly hope you enjoy making and devouring these Banana Pudding Rice Krispie Treats as much as I do. They’re a fantastic way to bring a smile to someone’s face (including your own!).
Frequently Asked Questions:
Can I make these Banana Pudding Rice Krispie Treats ahead of time?
Yes, absolutely! Banana Pudding Rice Krispie Treats can be made a day or two in advance and stored in an airtight container at room temperature. They actually tend to set up even better after a few hours, so they’re perfect for making ahead for parties or events.
What’s the best way to store leftovers?
To keep your Banana Pudding Rice Krispie Treats fresh and from getting stnon-alcoholic ale, store them in an airtight container at room temperature. Avoid refrigerating them, as this can make them too hard. If you live in a very humid climate, you might want to place a small piece of parchment paper between layers to prevent sticking.
Can I use fresh bananas instead of banana extract?
While you can technically add mashed fresh bananas, it’s not recommended for this specific recipe. Fresh bananas contain a lot of moisture, which can make the treats soggy and affect their texture and shelf life. The banana extract provides that concentrated banana pudding flavor without altering the crucial crispy texture of the treats.
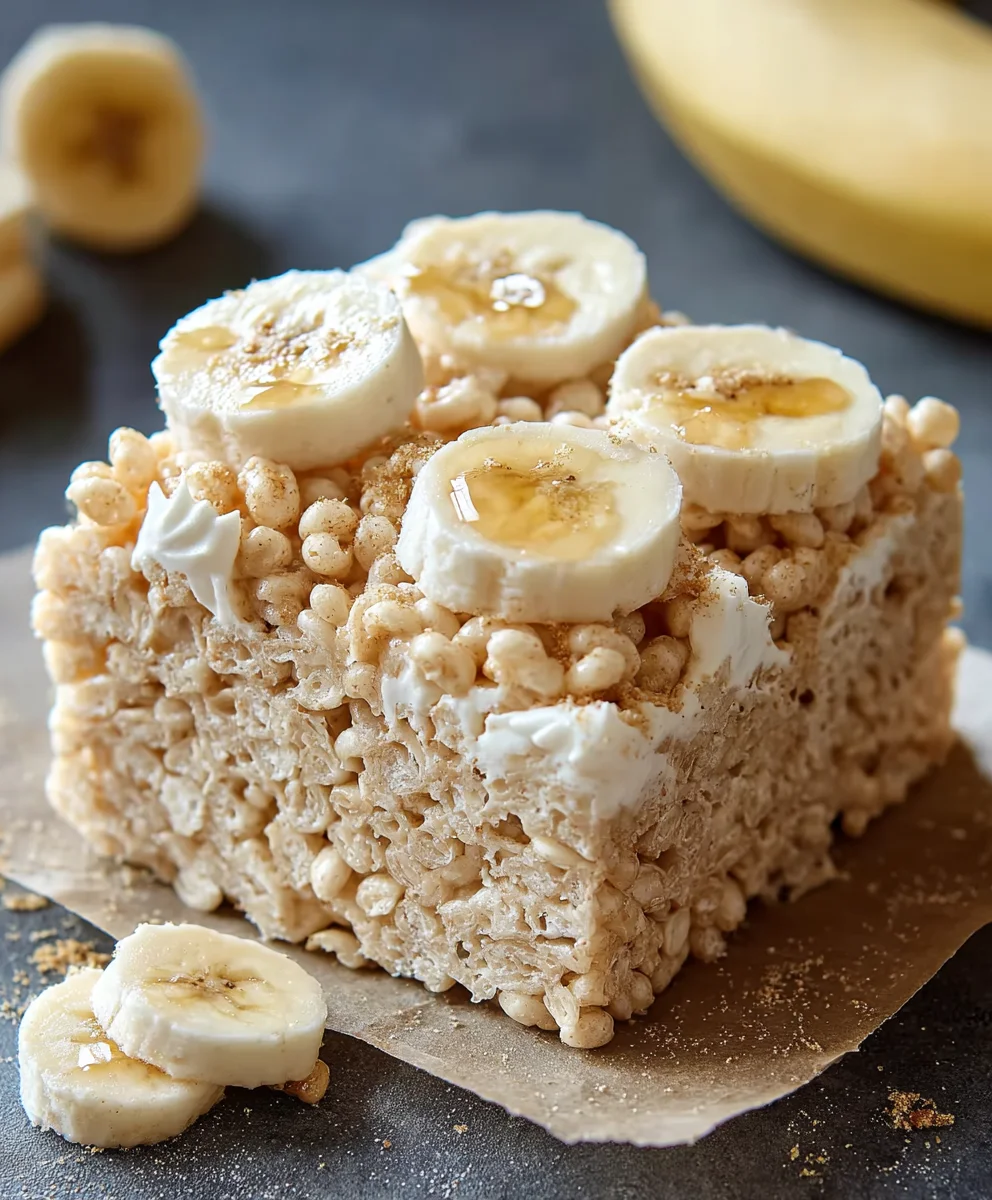
Banana Pudding Rice Krispie Treats
An easy and delicious no-bake dessert that combines the classic crispiness of Rice Krispie treats with the delightful flavors of banana pudding and crushed Nilla Wafers.
Ingredients
-
3 tablespoons butter, melted
-
1 (10 oz) bag marshmallows
-
1 (3.4 oz) box instant banana pudding mix
-
6 cups Rice Krispies cereal
-
Crushed Nilla Wafers (for topping)
Instructions
-
Step 1
Melt the butter in a large pot over medium-low heat. Gradually add the marshmallows and stir constantly until completely melted and smooth, about 5-7 minutes. Do not scorch. -
Step 2
Remove the pot from the heat. Stir in the instant banana pudding mix until fully incorporated and no dry pockets remain. The mixture will turn yellow and smell of banana. -
Step 3
Gently fold in the Rice Krispies cereal using a spatula until every piece is coated with the marshmallow and pudding mixture. Avoid crushing the cereal. -
Step 4
Press the mixture evenly into a greased or parchment-lined 9×13 inch baking pan. Lightly dampen your hands or use parchment paper to press smoothly without making the treats dense. -
Step 5
While still slightly warm, sprinkle crushed Nilla Wafers over the top and gently press them into the surface. Allow to set for at least 30 minutes, or until firm. For cleaner cuts, refrigerate for 15-20 minutes after cooling slightly. -
Step 6
Lift the slab out of the pan using parchment overhang. Cut into desired squares or rectangles using a sharp knife. Wipe the knife with a damp cloth between cuts for cleaner edges. Enjoy at room temperature.
Important Information
Nutrition Facts (Per Serving)
It is important to consider this information as approximate and not to use it as definitive health advice.
Allergy Information
Please check ingredients for potential allergens and consult a health professional if in doubt.