Dairy-Free Pesto – Fresh Vegan Basil Sauce
Dairy Free Pesto is an absolute revelation, and I’m so excited to share this vibrant, flavour-packed recipe with you! For years, I adored the creamy, herbaceous goodness of traditional pesto, but as my dietary needs shifted, I thought I’d have to say goodbye to this beloved sauce forever. Thankfully, I discovered that you can achieve that signature richness and depth without a drop of dairy. People adore pesto for its incredible versatility – it’s perfect on pasta, as a dip, spread on sandwiches, or drizzled over roasted vegetables. But this dairy free pesto takes it a step further. It’s not just about accommodating a dietary restriction; it’s about elevating the classic with an even brighter, cleaner flavour profile. The secret lies in the clever substitution that maintains that delightful mouthfeel, proving that deliciousness knows no bounds. Get ready to fall in love with pesto all over again!
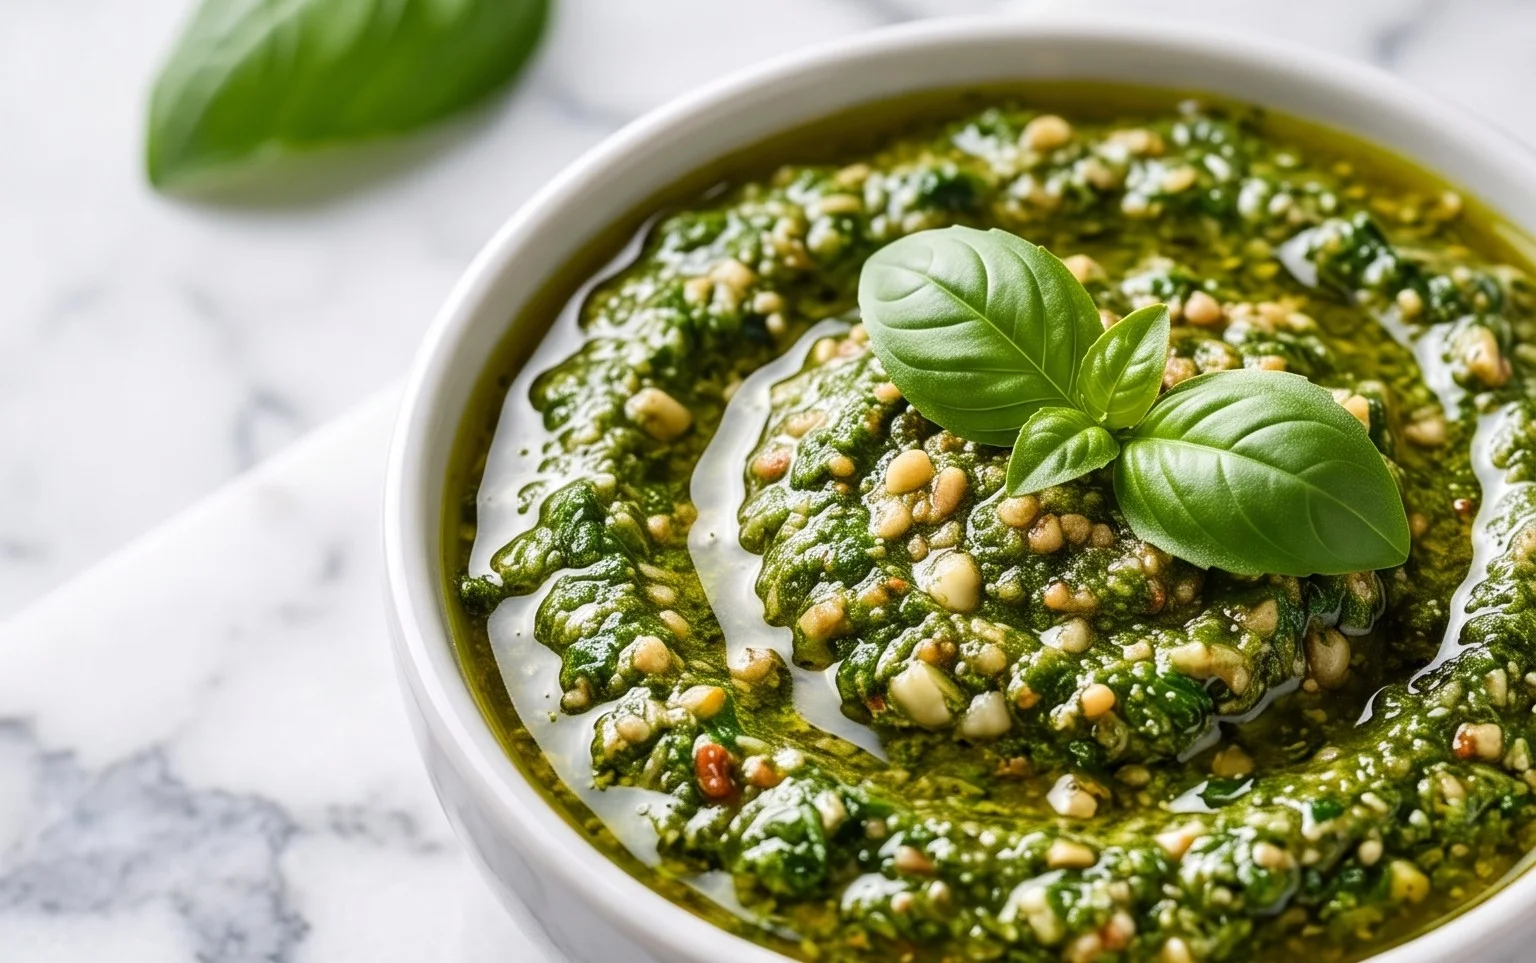
Dairy Free Pesto
Pesto. The word itself conjures up images of vibrant green, fragrant basil, and a rich, nutty depth of flavor. Traditionally, pesto is a celebration of simple, fresh ingredients, but its classic form relies heavily on Parmesan cheese for that signature umami kick. For those of us navigating the world of dairy-free living, this can mean saying goodbye to many beloved dishes. But fear not! Today, we’re reclaiming the joy of pesto with a magnificent dairy-free version that’s so delicious, you won’t even miss the cheese.
This recipe is a testament to how simple substitutions can unlock incredible flavor. We’re harnessing the power of nutritional yeast to bring that cheesy, savory essence without a drop of dairy. It’s a versatile sauce that’s perfect for tossing with pasta, spreading on sandwiches, drizzling over roasted vegetables, or even stirring into soups. Get ready to elevate your weeknight meals and impress your friends (dairy-free or not!) with this incredibly easy and satisfying dairy-free pesto. The process is quick, and the results are truly spectacular.
Ingredients:
Cooking Instructions:
This dairy-free pesto comes together in a flash, making it your new go-to sauce for almost anything. Here’s how to whip up a batch of pure deliciousness:
1. Prepare Your Base Ingredients:
Start by ensuring your basil is clean and dry. Gently wash the basil leaves and pat them completely dry with paper towels or use a salad spinner. Excess moisture can make your pesto watery, so this step is crucial for achieving the perfect consistency. Next, gather your pine nuts. If you’re not using pine nuts, now is the time to have your walnuts or pumpkin seeds ready. Toasting your nuts or seeds lightly (for about 5-7 minutes in a dry skillet over medium heat until fragrant) can really enhance their flavor, adding an extra layer of complexity to your pesto. Just be careful not to burn them; a light golden brown is perfect. Peel your garlic cloves; a quick trick is to smash them gently with the side of your knife to loosen the skins.
2. Combine Dry Ingredients in a Food Processor:
In the bowl of a food processor, combine the prepared basil leaves, the toasted pine nuts (or your chosen alternative), and the peeled garlic cloves. Add the salt and the nutritional yeast at this stage. The nutritional yeast is our secret weapon here, providing a wonderfully cheesy, savory flavor that mimics the umami notes of traditional Parmesan. If you are not strictly dairy-free and would like to use Parmesan, this is where you would add it. Pulse the ingredients a few times until they are roughly chopped and well combined. Don’t over-process at this stage; we want a bit of texture.
3. Emulsify with Olive Oil:
With the food processor running on a low speed, slowly drizzle in the extra virgin extract olive oil in a thin, steady stream. Continue to process until the mixture is smooth and emulsified. You’re looking for a vibrant green paste that has a lovely, creamy consistency. The amount of olive oil can be adjusted slightly to achieve your desired thickness. If you prefer a looser pesto, add a touch more olive oil. If you like it thicker, use a little less. This slow addition of oil is what creates that wonderfully cohesive pesto texture.
4. Incorporate the Lemon Juice:
Once the pesto has reached your desired consistency, add the freshly squeezed lemon juice. The lemon juice is not just for flavor; it brightens up all the other ingredients and adds a beautiful tang that cuts through the richness of the olive oil and nuts. Pulse the food processor a few more times to fully incorporate the lemon juice. Taste the pesto at this point and adjust seasonings as needed. You might find you want a little more salt, or perhaps a touch more lemon juice depending on your preference. This is your moment to personalize your perfect pesto!
5. Storage and Serving Suggestions:
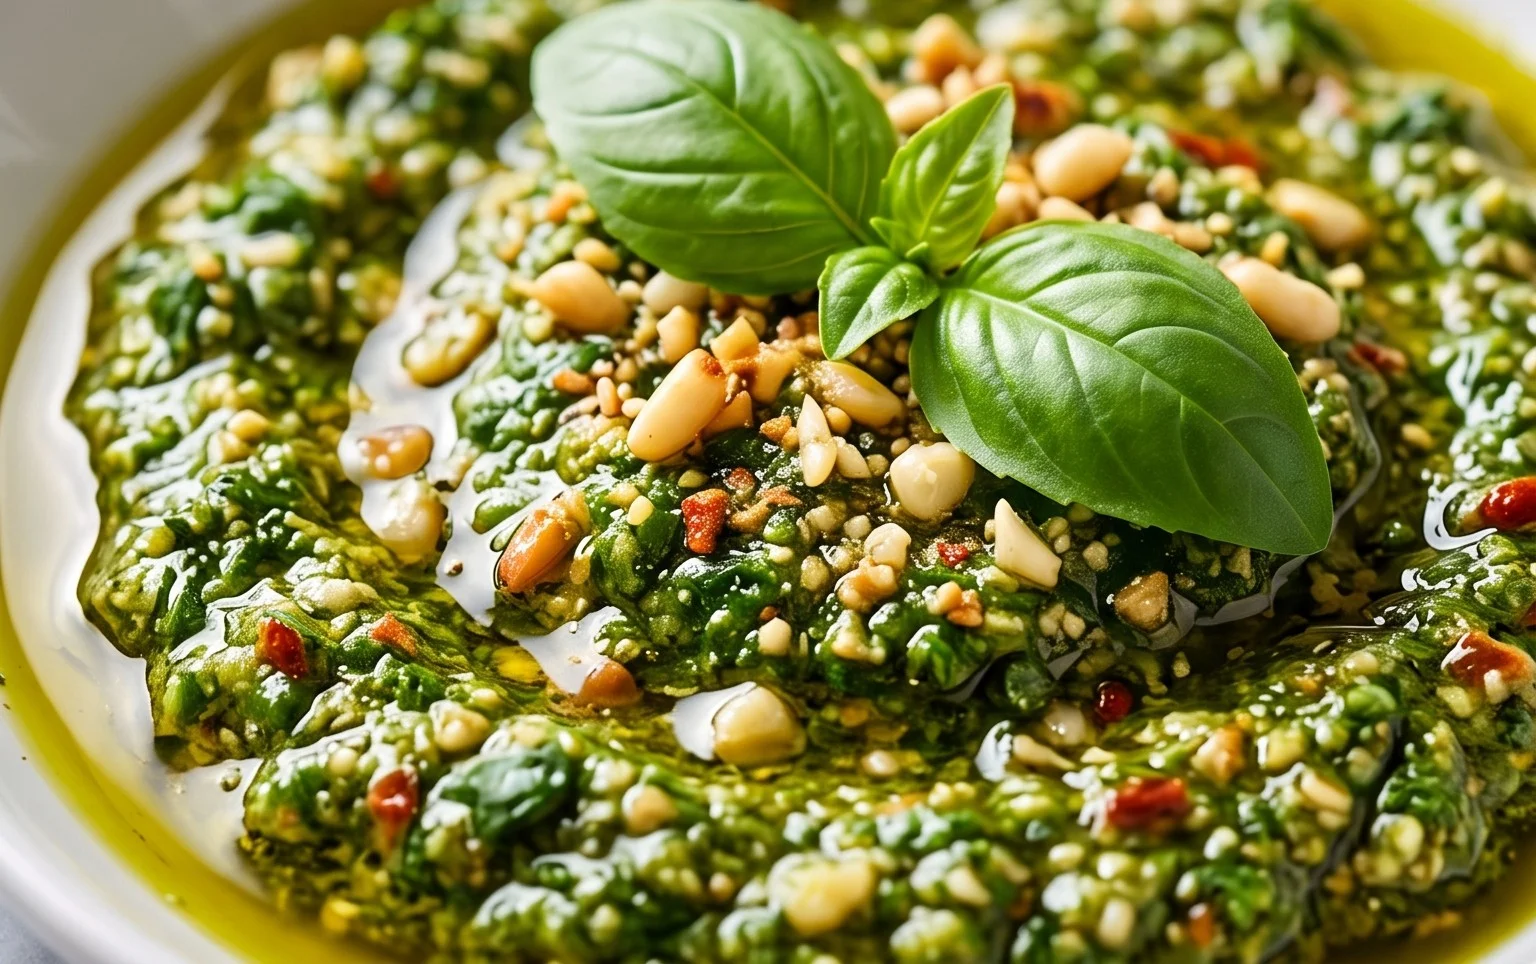
Transfer your glorious dairy-free pesto to an airtight container. For best results and to preserve its vibrant color, pour a thin layer of olive oil over the top of the pesto before sealing the container. This acts as a barrier to prevent oxidation. You can store your pesto in the refrigerator for up to a week. For longer storage, consider freezing it in ice cube trays; once frozen, transfer the pesto cubes to a freezer-safe bag for easy portioning. This dairy-free pesto is incredibly versatile. Toss it with your favorite pasta, spread it on crusty bread for an impromptu bruschetta, use it as a dip for fresh vegetables, or swirl it into your morning eggs. The possibilities are truly endless, and each use will be a delightful explosion of fresh, savory flavor. Enjoy!
Conclusion:
I hope you’re feeling inspired to whip up a batch of this absolutely delicious dairy free pesto! This recipe is a game-changer, proving you don’t need cheese to achieve that vibrant, herbaceous, and utterly satisfying pesto flavor. It’s packed with fresh basil, garlic, pine nuts, and good olive oil, creating a versatile sauce that’s surprisingly easy to make. The beauty of this dairy free version is its incredible versatility, making it a fantastic addition to so many meals.
Think of the possibilities! Toss it with your favorite pasta for a quick and elegant weeknight dinner, spread it on toasted bread for an amazing appetizer, or drizzle it over grilled vegetables, chicken, or fish. It’s also a wonderful way to liven up a sandwich or salad. Don’t be afraid to experiment with variations! Swap pine nuts for walnuts or almonds, add a squeeze of lemon juice for extra brightness, or even throw in some sun-dried tomatoes for a different flavor profile. I truly encourage you to give this recipe a try; you might just find it becomes your new go-to pesto!
Frequently Asked Questions:
Can I freeze dairy free pesto?
Absolutely! This dairy free pesto freezes beautifully. Spoon it into an ice cube tray and once frozen, transfer the cubes to a freezer-safe bag or container. This makes it easy to thaw individual portions as needed. It should stay fresh in the freezer for up to 3-4 months.
What can I use instead of pine nuts?
Pine nuts are traditional, but they can be expensive. Walnuts or blanched almonds are excellent substitutes and offer a slightly different, but equally delicious, nutty flavor. Toasting them beforehand will enhance their taste even further.
How long does this dairy free pesto last in the refrigerator?
When stored properly in an airtight container in the refrigerator, this dairy free pesto will typically last for about 5-7 days. Ensure the surface is covered with a thin layer of olive oil to help preserve its freshness and prevent browning.
Dairy Free Pesto
A vibrant and flavorful dairy-free pesto made with fresh basil, pine nuts, garlic, and lemon. Perfect for pasta, sandwiches, and dips.
Ingredients
-
3 cups basil
-
1/2 lemon (juiced)
-
1/2 cup pine nuts
-
2 cloves garlic
-
1/4 cup olive oil
-
1/2 tsp salt
-
2 tbsp nutritional yeast
Instructions
-
Step 1
Combine basil, pine nuts, garlic, salt, and nutritional yeast (if using) in a food processor. -
Step 2
Pulse until coarsely chopped. -
Step 3
With the food processor running, slowly drizzle in the olive oil until the pesto reaches your desired consistency. -
Step 4
Add the lemon juice and pulse a few more times to combine. -
Step 5
Taste and adjust seasoning if needed. -
Step 6
Transfer to a sealed container and store in the refrigerator.
Important Information
Nutrition Facts (Per Serving)
It is important to consider this information as approximate and not to use it as definitive health advice.
Allergy Information
Please check ingredients for potential allergens and consult a health professional if in doubt.