Easy Blender Salsa-Restaurant Style Recipe
Blender salsa (restaurant style salsa) is one of those magical dishes that can elevate any meal from ordinary to absolutely unforgettable. Think about it: those vibrant, fresh flavors that perfectly complement chips, tacos, grilled chicken, or just about anything your heart desires. It’s the quintessential party dip, the weeknight dinner hero, and the secret weapon in my kitchen. What makes this particular blender salsa so special? It’s all about capturing that authentic, zesty, slightly chunky texture you find at your favorite Mexican restaurants, but with the incredible ease of using just your blender. No chopping mountains of ingredients, just pure, unadulterated flavor in minutes. Get ready to impress yourself and everyone you share it with, because this is the blender salsa recipe you’ve been waiting for.
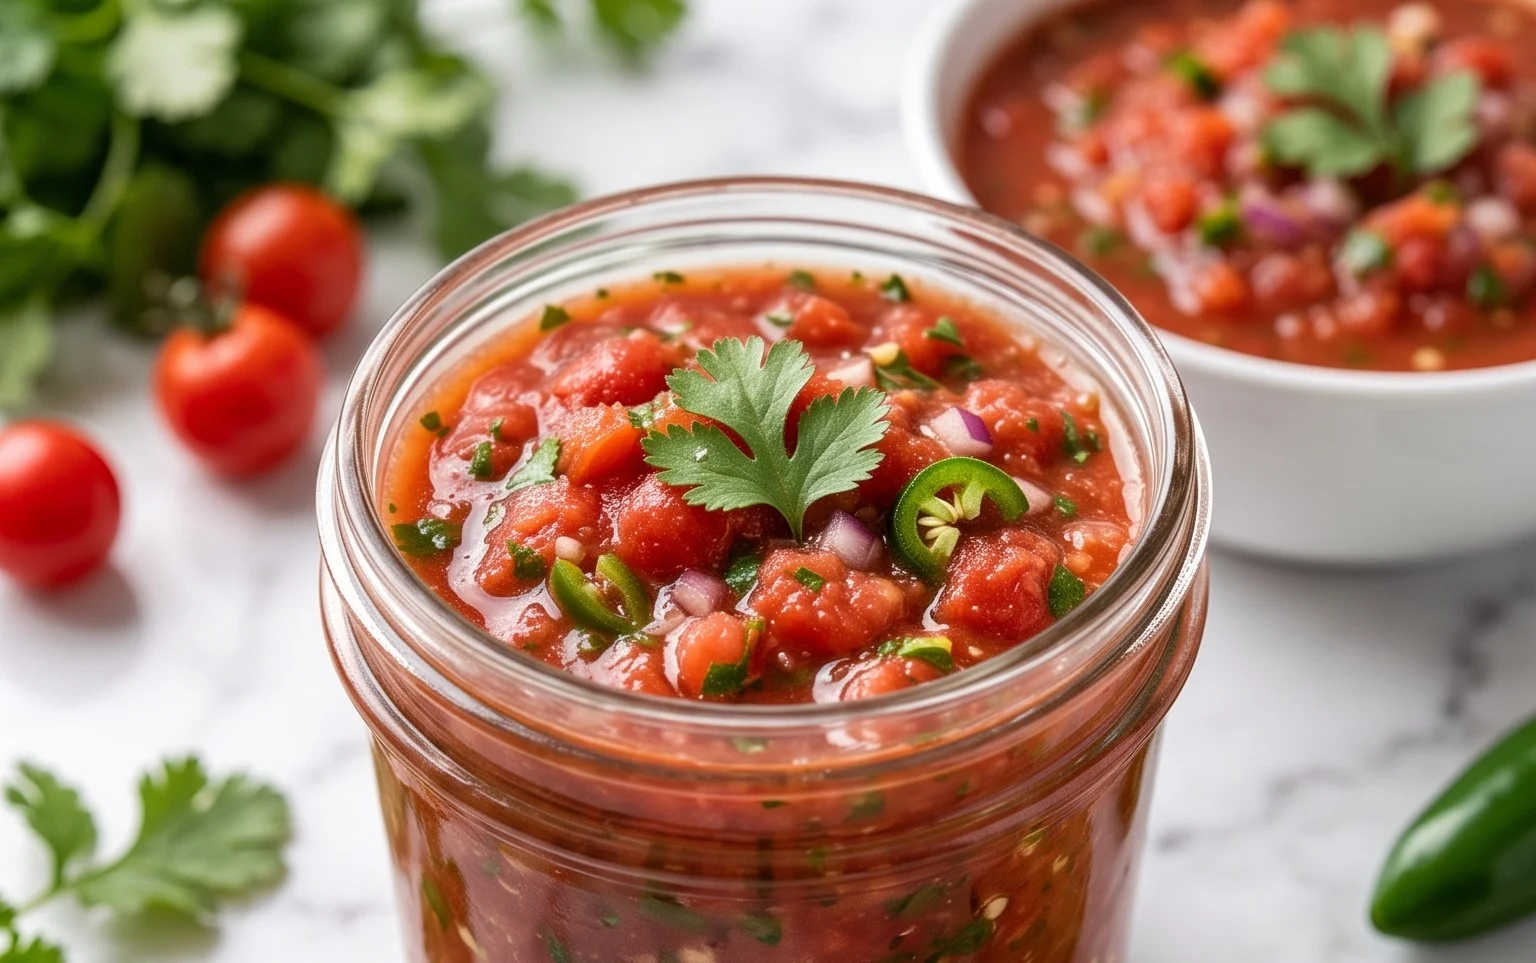
Blender Salsa (Restaurant Style Salsa)
There’s something undeniably satisfying about a good salsa. The vibrant colors, the fresh kick of cilantro, the subtle heat from the peppers, and that perfect balance of acidity and savory notes – it’s a condiment that elevates any Mexican-inspired dish. While store-bought options can be convenient, nothing truly compares to the flavor explosion of homemade salsa. And if you’re craving that authentic, vibrant, “restaurant-style” salsa without any fuss, then my Blender Salsa recipe is your new best friend. This recipe is designed for speed and ease, using your blender to do all the heavy lifting. In just minutes, you can transform a few simple ingredients into a salsa that will have your guests beggin extractg for the recipe.
This isn’t your chunky, pico de gallo style salsa, though that’s delicious in its own right. This is the smoother, more emulsified version you often find in Mexican restaurants, with a perfectly blended texture that coats your chips beautifully. It’s incredibly versatile, perfect for dipping, spooning over tacos, enchiladas, grilled chicken, or even just enjoying by the spoonful (no judgment here!). Let’s get started on creating this crowd-pleasing salsa.
Ingredients:
Instructions:
Step 1: Prepare Your Base
The foundation of our restaurant-style salsa lies in perfectly ripe, flavorful ingredients. The key to this blender method is to get everything into the blender in a way that allows for optimal processing. Start with your can of diced tomatoes. Crucially, you want to use the entire can, including the liquid. This liquid provides moisture and helps the blender process the other ingredients smoothly, creating that desirable emulsified texture. Pour the entire can into your blender.
Step 2: Add the Aromatics and Heat
Next, we’ll introduce the elements that bring the punch and flavor. Coarsely chop your quarter of a small red onion. Red onion offers a slightly sweeter and milder flavor compared to yellow or white onions, and it also contributes a beautiful pink hue to the salsa. Don’t worry about precise chopping here, as the blender will take care of breaking it down. Add the chopped red onion to the blender with the tomatoes. Then, it’s time for the cilantro. Using about a quarter cup of fresh cilantro, roughly chop it before adding it. Cilantro is absolutely essential for that bright, fresh, herbaceous flavor characteristic of authentic Mexican salsas.
Now for the heat! Take your jalapeno pepper. For this recipe, I prefer to seed and coarsely chop it. Seeding the jalapeno removes most of the membrane and seeds, which is where a significant portion of the capsaicin (the heat) resides. This allows you to control the spice level. If you prefer a milder salsa, remove all the seeds and membranes. If you like it spicier, leave some in, or swap it for a serrano pepper for an extra kick. Add the chopped jalapeno to the blender. Finally, add your two cloves of garlic, also coarsely chopped. Garlic provides a pungent, savory depth that is indispensable in any good salsa.
Step 3: Season and Blend
With all our main ingredients in the blender, it’s time to add the seasonings that will bring everything together. Squeeze the juice of one whole lime into the blender. For an extra burst of lime essence, I also highly recommend zesting the lime before you juice it. The zest contains essential oils that are incredibly aromatic and flavorful. Add the lime zest and juice to the blender. Next, add a quarter teaspoon of ground cumin. Cumin adds a warm, earthy, and slightly smoky note that is a classic pairing with tomatoes and peppers in salsa.
Now, we’ll add salt and black pepper. It’s best to start with a moderate amount, as you can always add more later. A good starting point is about half a teaspoon of salt and a quarter teaspoon of black pepper. You want to season to taste, so remember to adjust these at the end. With all ingredients in the blender, secure the lid tightly.
Step 4: Achieving the Perfect Texture
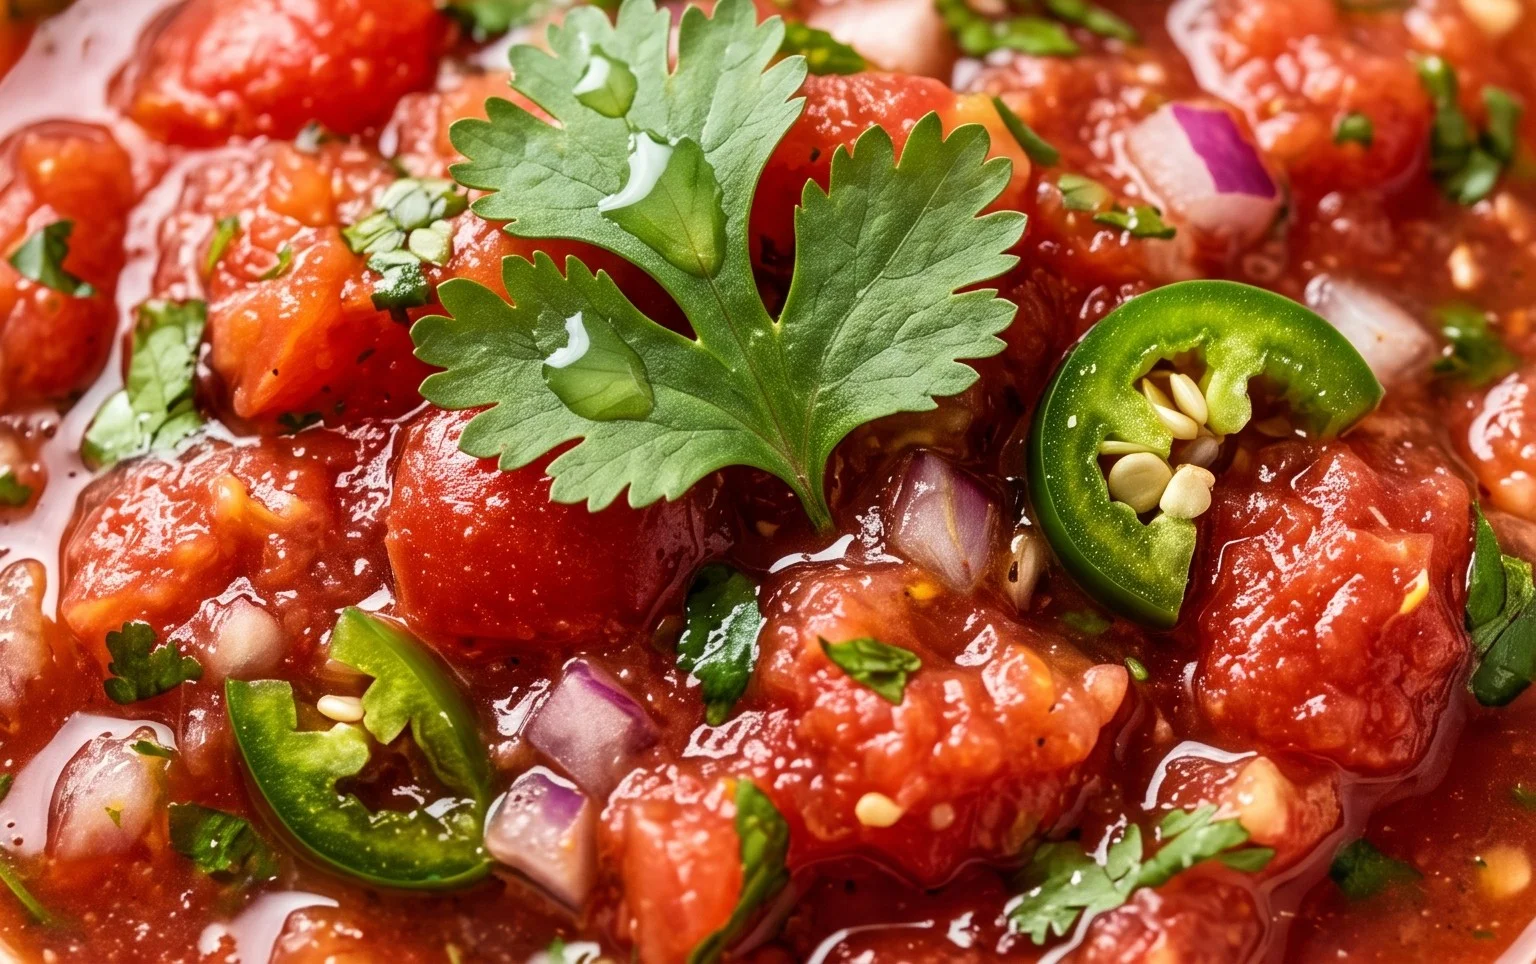
This is where the magic happens! Begin extract blending on a low speed, and then gradually increase the speed. You’ll want to pulse the blender a few times initially to help break down the larger pieces. Then, blend continuously until the salsa reaches your desired consistency. For that authentic restaurant style, you’re aiming for a relatively smooth, yet not completely pureed, texture. You should still be able to see flecks of the ingredients, but it should be well-combined and have a slight thickness. This usually takes about 30-60 seconds of blending, depending on your blender’s power. Be careful not to over-blend, as this can make the salsa watery. If you find the salsa is too thick for your liking, you can add a tablespoon of water at a time and blend briefly until it reaches your preferred consistency.
Step 5: Taste and Adjust
Once blended, it’s crucial to taste your salsa and make any necessary adjustments. This is the step that truly elevates your homemade salsa from good to exceptional. Carefully remove the lid and dip a clean spoon in. Taste it and consider the balance of flavors. Does it need more salt to bring out the other notes? Perhaps a bit more lime juice for brightness and acidity? If you’re finding it not spicy enough, you can carefully add a sliver of fresh jalapeno and blend again for a few seconds. Conversely, if it’s too spicy, a touch more tomato or a tiny pinch of sugar can help to mellow the heat. Stir gently after any additions and taste again until it’s perfect for your palate.
Step 6: Chill and Serve
For the best flavor, I highly recommend letting your blender salsa chill in the refrigerator for at least 30 minutes before serving. This allows the flavors to meld and deepen. The initial intensity of the raw ingredients will mellow slightly, creating a more harmonious and complex taste. Store the salsa in an airtight container in the refrigerator. It will keep well for about 5-7 days. Serve with your favorite tortilla chips, or as a vibrant topping for your culinary creations! Enjoy this incredibly easy and delicious restaurant-style salsa that you can whip up anytime.
Conclusion:
And there you have it – your very own restaurant-style blender salsa, ready in minutes! I hope you’re as excited as I am to whip up this incredibly fresh and vibrant condiment. What makes this recipe so fantastic is its simplicity and speed, allowing you to enjoy that authentic, slightly chunky, and perfectly balanced flavor without any fuss. It truly elevates any meal, from tacos and burritos to grilled meats and even just a bowl of tortilla chips.
Feel free to get creative with your serving suggestions! Beyond the classic chip dip, this blender salsa is a game-changer as a topping for omelets, a marinade for chicken, or even stirred into a creamy avocado dip. Don’t be afraid to experiment with variations too. Craving a little heat? Add an extra jalapeño or a pinch of cayenne. Prefer a sweeter note? A touch of honey or agave can work wonders. The possibilities are endless, and I genuinely encourage you to give this blender salsa recipe a try. It’s a staple in my kitchen, and I’m confident it will become one in yours too!
Frequently Asked Questions:
Can I make this blender salsa ahead of time?
Absolutely! In fact, I find the flavors meld even better after a few hours in the refrigerator. It’s perfect for making a day or two in advance for parties or meal prepping.
What kind of blender is best for this recipe?
A good quality blender, whether it’s a high-powered model or a standard one, will work well. You’re aiming for a slightly chunky texture, so avoid over-processing it into a completely smooth purée. Pulse as needed to achieve your desired consistency.
Blender Salsa (Restaurant Style Salsa)
Quick and easy restaurant-style salsa made in your blender.
Ingredients
-
1 (14.5-ounce can) Diced Tomatoes (don’t drain)
-
1/4 small Red Onion (about 1/3 cup coarsely chopped)
-
1/4 cup Cilantro
-
1 Lime (zested and juiced)
-
1 Jalapeno Pepper (or Serrano Pepper) (seeded and coarsely chopped)
-
2 cloves Garlic (coarsely chopped)
-
1/4 teaspoon Ground Cumin
-
Salt (to taste)
-
Black Pepper (to taste)
Instructions
-
Step 1
Add diced tomatoes to your blender. -
Step 2
Add the red onion, cilantro, lime zest, lime juice, jalapeno pepper, and garlic to the blender. -
Step 3
Add the ground cumin. -
Step 4
Pulse the blender until the salsa reaches your desired consistency, scraping down the sides as needed. -
Step 5
Season with salt and black pepper to taste. -
Step 6
Serve immediately or chill for later.
Important Information
Nutrition Facts (Per Serving)
It is important to consider this information as approximate and not to use it as definitive health advice.
Allergy Information
Please check ingredients for potential allergens and consult a health professional if in doubt.