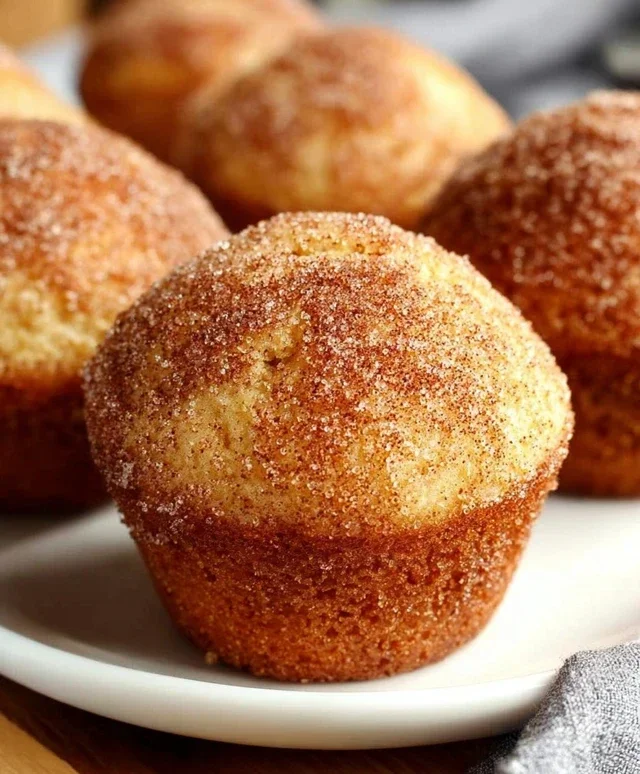
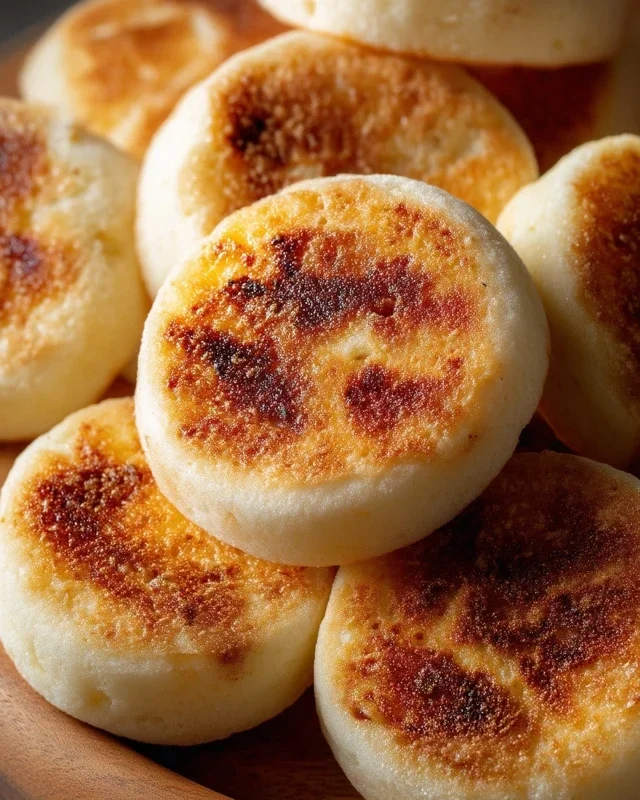
Easy Homemade English Muffins – Fluffy & Delicious Recipe
Easy Homemade English Muffins are a revelation for any breakfast lover. Forget those pre-packaged, slightly cardboard-like versions from the grocery store. I’m talking about muffins with perfectly toasted nooks and crannies just beggin extractg to be slathered with butter, jam, or your favorite spread. There’s a deep satisfaction that comes from biting into a warm, slightly chewy, golden-brown English muffin that you’ve made yourself. The magic lies in their simplicity and the incredible texture that store-bought versions simply can’t replicate. They’re incredibly versatile – perfect for a classic breakfast, a quick lunch sandwich, or even as a base for a delightful mini pizza. Making easy homemade English muffins isn’t just about baking; it’s about creating a little bit of morning joy, one delicious cranny at a time.
The Ultimate Comfort Food
Why You’ll Love This Recipe
Easy Homemade English Muffins
There’s something incredibly satisfying about a homemade English muffin, warm from the griddle, with those characteristic nooks and crannies beggin extractg to be slathered with butter and jam. Forget the store-bought versions; making them yourself is surprisingly straightforward and yields a far superior product. This recipe is designed for simplicity and speed, meaning you can enjoy fresh, delicious English muffins without a whole day dedicated to baking. The secret lies in a few key steps that create that signature texture we all know and love. So, preheat your griddle, gather your ingredients, and let’s get baking!
Ingredients:
The Dough-Making Process
In a large mixing bowl, combine the warm water and sugar. Give it a gentle stir to dissolve the sugar. Sprinkle the instant dry yeast over the top. Let this mixture sit undisturbed for about 5-10 minutes. You’ll notice it start to get foamy and bubbly – this is a good sign that your yeast is active and ready to work its magic! If you don’t see any activity after 10 minutes, your yeast might be expired or the water wasn’t the right temperature, and you’ll want to start with fresh yeast and water. This initial step helps to ensure a good rise in your muffins.
Once the yeast mixture is active, add the oil (or melted butter) to the bowl. Then, add the 2 ¾ cups of all-purpose flour and the salt. If you’re using kosher salt, I like to add an extra pinch as it’s less dense than table salt. Start mixing everything together with a sturdy spoon or a dough whisk. As the dough comes together, it will likely be quite sticky. This is exactly what we want for tender English muffins. Keep mixing until a shaggy dough forms and most of the flour is incorporated.
Now, it’s time to get your hands involved! Lightly flour a clean work surface. Turn the sticky dough out onto the floured surface. Begin extract to knead the dough. Initially, it will feel very sticky and may cling to your hands and the counter. Resist the urge to add too much extra flour; the stickiness is key to the texture. Use a bench scraper to help lift the dough if needed. Knead for about 5-7 minutes. The dough will gradually become smoother and more elastic. It should still be a little tacky, but much easier to handle. If it’s still too wet and unmanageable after a few minutes of kneading, you can gradually add a tablespoon of flour at a time, incorporating it fully before adding more. The goal is a soft, slightly sticky dough that springs back slowly when poked.
Rising and Shaping
Lightly oil a clean bowl. Place the kneaded dough in the oiled bowl and turn it to coat all sides. Cover the bowl tightly with plastic wrap or a clean kitchen towel. Let the dough rise in a warm place for about 45 minutes to 1 hour, or until it has doubled in size. A slightly warm oven (turned off!) or a sunny windowsill are great spots for this. The warmth helps the yeast to activate and create those lovely air bubbles. This rise is crucial for developing the texture.
Once the dough has doubled, gently punch it down to release the air. Turn the dough out onto a lightly floured surface. You want to pat or gently roll the dough out to about ½ inch thickness. This is where we create the basis for those nooks and crannies. Don’t aim for perfection; an even thickness is more important. Using a round cookie cutter or a large biscuit cutter (about 3 inches in diameter), cut out your English muffin shapes. You can also use the rim of a glass. Gather the scraps, gently re-knead them a couple of times, and cut out more circles until you’ve used up all the dough.
The Griddling Magic
Now for the fun part! Generously dust a baking sheet or a large plate with cornmeal. Place your cut-out English muffin dough circles onto the cornmeal-dusted surface. Sprinkle a little more cornmeal on top of the dough circles as well. This cornmeal dusting is essential for that classic English muffin look and feel, and it prevents them from sticking to your cooking surface. Let the cut-out dough rest and puff up slightly for another 15-20 minutes while you preheat your griddle.
Preheat your griddle or a large, heavy-bottomed frying pan over medium-low heat. It’s important not to have the heat too high, as this will burn the outside before the inside is cooked. You want a gentle, even heat. You can test if the griddle is ready by flicking a few drops of water on it; they should sizzle and evaporate slowly. Carefully place the cornmeal-dusted English muffin dough circles onto the preheated griddle, leaving some space between them. Cook for about 5-7 minutes per side. You’re looking for a beautiful golden-brown color on both sides, and they should feel slightly firm to the touch. If they are browning too quickly, reduce the heat. If they seem to be taking too long and are still pnon-alcoholic ale, you can slightly increase the heat. The key is patience to ensure they cook through.
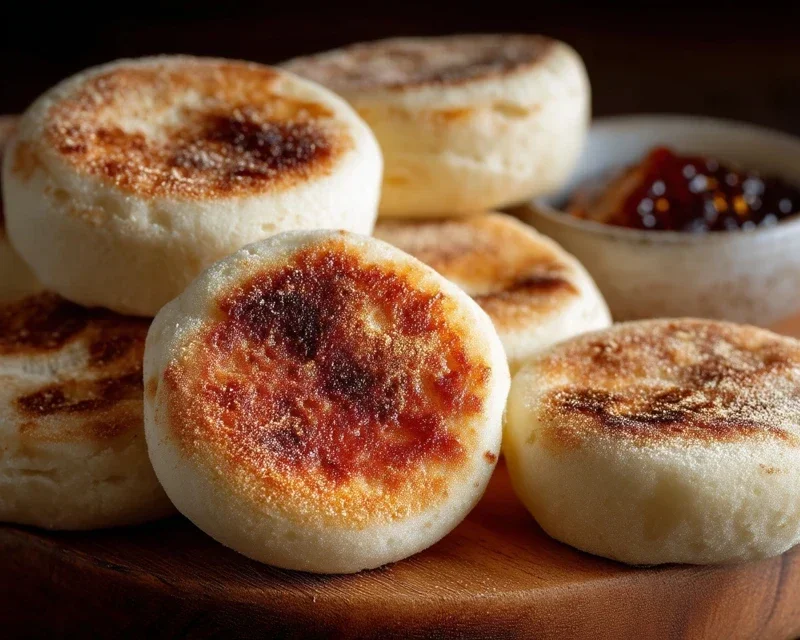
Once both sides are golden brown and they feel cooked through, remove the English muffins from the griddle. You can let them cool completely on a wire rack, but honestly, they are best enjoyed warm! To serve, split them horizontally with a fork – this is what creates those glorious nooks and crannies that are perfect for holding butter, jam, or your favorite toppings. Toast them lightly for an extra crispy texture. Enjoy the fruits of your labor!
Conclusion:
So there you have it – your path to incredibly delicious, easy homemade English muffins! I hope you’re as excited as I am to ditch the store-bought and experience the satisfying chew and delightful nooks and crannies that only homemade can provide. This recipe truly is a game-changer, offering a rewarding baking experience without any fuss. Imagin extracte the aroma filling your kitchen as these bake – pure bliss! They’re perfect for a leisurely weekend brunch, a quick breakfast on a busy morning, or even an elegant afternoon tea. Don’t be afraid to get creative with serving suggestions! Beyond the classic butter and jam, try them with a fried egg and beef bacon for a hearty breakfast sandwich, avocado and smoked salmon for a sophisticated touch, or even as a base for mini pizzas. Feel free to experiment with variations too – a sprinkle of herbs or cheese in the dough can add a wonderful savory dimension. I genuinely encourage you to give this recipe a try. You’ll be amazed at how simple it is to achieve bakery-quality results right in your own kitchen. Happy baking!
Frequently Asked Questions:
Q: Can I make these English muffins ahead of time?
Absolutely! Once cooled completely, you can store your homemade English muffins in an airtight container at room temperature for 2-3 days, or freeze them for up to 2 months. Simply toast them from frozen or thawed to enjoy.
Q: My muffins didn’t get very many nooks and crannies. What did I do wrong?
Don’t worry, this is a common question! The key to those lovely nooks and crannies often comes down to the dough consistency (it should be quite sticky) and ensuring you don’t overwork it once it’s formed. Also, letting them rise adequately is crucial. Next time, try to be a bit more patient with the proofing stages and avoid excessive kneading.
Easy Homemade English Muffins
Soft, fluffy, and perfectly toasted homemade English muffins, easy enough for any baker. Perfect for breakfast or brunch.
Ingredients
-
1 ¼ cups warm water
-
1 tablespoon sugar
-
1 teaspoon instant dry yeast
-
2 tablespoon canola oil
-
2 ¾ cups all purpose flour
-
1 teaspoon salt
-
cornmeal for dusting
Instructions
-
Step 1
In a large bowl, combine warm water, sugar, and instant dry yeast. Let stand for 5 minutes until foamy. -
Step 2
Stir in the oil and salt. -
Step 3
Gradually add the flour, mixing until a shaggy dough forms. Turn out onto a lightly floured surface and knead for 5-7 minutes until smooth and elastic. Add up to 1/4 cup extra flour if needed. -
Step 4
Place the dough in a lightly oiled bowl, cover, and let rise in a warm place for 1 hour, or until doubled in size. -
Step 5
Punch down the dough and turn it out onto a lightly floured surface. Roll out to about ½ inch thickness. Cut out rounds using a 3-inch cookie cutter. -
Step 6
Generously dust a baking sheet or a piece of parchment paper with cornmeal. Place the muffin rounds on the prepared surface, sprinkle tops with cornmeal, and let rest for 15-20 minutes. -
Step 7
Heat a lightly oiled griddle or large skillet over medium heat. Cook the muffins for 4-5 minutes per side, until golden brown and cooked through. If they brown too quickly, reduce heat. You may need to cook in batches. -
Step 8
Remove from skillet and let cool on a wire rack. Split horizontally with a fork and toast before serving.
Important Information
Nutrition Facts (Per Serving)
It is important to consider this information as approximate and not to use it as definitive health advice.
Allergy Information
Please check ingredients for potential allergens and consult a health professional if in doubt.