Easy Homemade Fruit Leather Recipe – Sweet Treat
Homemade fruit leather recipe is a delightful journey back to childhood, a sweet and chewy creation that unlocks sunshine in every bite. There’s something undeniably magical about transforming fresh fruit into these vibrant, pliable strips. We all remember those brightly colored, often artificially flavored, store-bought versions, but imagin extracte crafting your own, bursting with pure, unadulterated fruit flavor and completely free from artificial nasties. This is precisely what makes a homemade fruit leather recipe so special. It’s a wonderfully simple yet incredibly rewarding process, allowing you to control the sweetness, the fruit combinations, and the texture. It’s the perfect way to use up seasonal gluts of berries, stone fruits, or apples, and the result is a healthy, portable snack that kids and adults alike will adore. Get ready to create your own batch of chewy goodness!
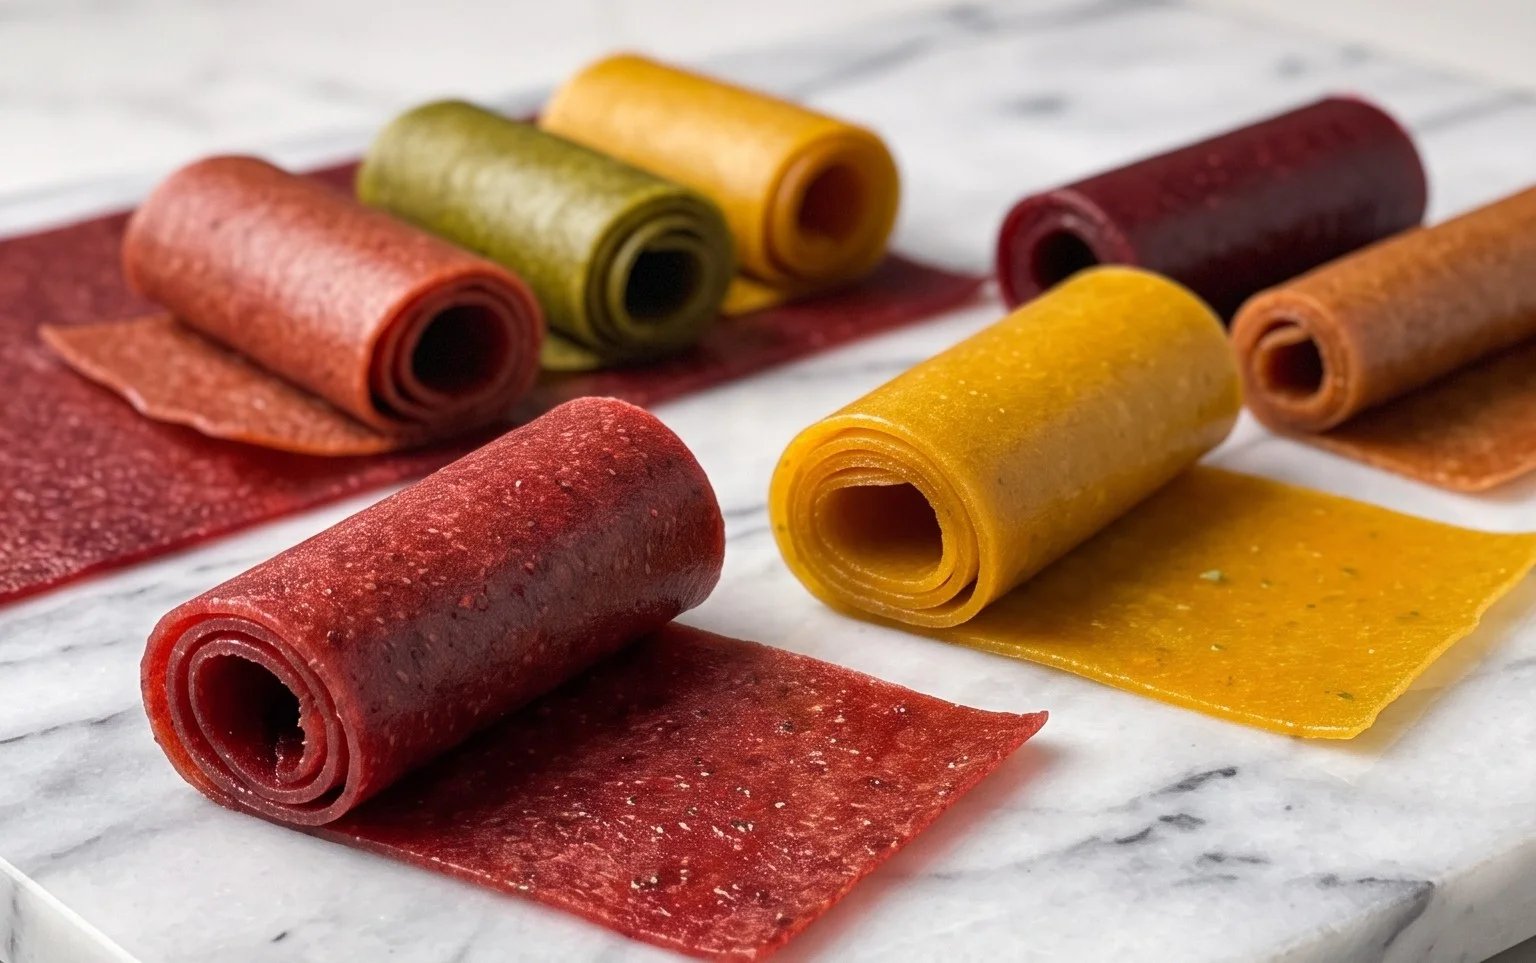
Homemade Fruit Leather Recipe
There’s something incredibly satisfying about creating your own snacks from scratch, and fruit leather is a prime example. It’s a healthy, customizable, and delightfully chewy treat that’s perfect for lunchboxes, after-school snacks, or just when you’re craving something sweet and fruity. Making your own fruit leather is surprisingly simple and requires just a few basic ingredients and a little patience. The result is a concentrated burst of fruit flavor, free from the preservatives and artificial ingredients often found in store-bought versions. Plus, you can tailor it to your family’s favorite fruits and sweetness levels. Get ready to impress yourself and everyone around you with this fantastic homemade snack!
Ingredients:
Preparing Your Fruit
The beauty of homemade fruit leather is its versatility. You can use almost any fruit you like, or even a combination of fruits! Berries like strawberries, raspberries, and blueberries are fantastic, as are stone fruits like peaches, plums, and apricots. Apples and pears work wonderfully too, though they might require a bit more sweetness or a stronger-flavored companion fruit. For this recipe, we’ll start with 2 cups of your chosen fruit, chopped into manageable pieces. If you’re using frozen fruit, make sure it’s fully thawed and drained of excess liquid. For harder fruits like apples or pears, you might want to peel and core them before chopping.
Sweetness and Tang
The 3 tablespoons of white sugar are added to enhance the natural sweetness of the fruit and help with the leathery texture. The amount of sugar can be adjusted based on the sweetness of your fruit and your personal preference. If your fruit is particularly sweet, you might want to reduce the sugar slightly. Conversely, if you’re using a tart fruit like cranberries or rhubarb, you might want to add a little more. The ½ lemon juice is a crucial addition. It not only adds a bright, zesty flavor that complements the fruit but also acts as a natural preservative, helping to prevent spoilage and giving the fruit leather that signature tangy finish.
The Cooking Process: Transforming Fruit into Leather
Once you have your ingredients ready, it’s time to bring them together and transform them into delicious fruit leather. This process involves cooking the fruit down and then dehydrating it.
Step 1: Pureeing the Fruit
Your first step is to create a smooth base for your fruit leather. Place your 2 cups of chopped fruit into a blender or food processor. Add the 3 tablespoons of white sugar and the juice from ½ a lemon. Blend until the mixture is completely smooth and pureed. There should be no large chunks of fruit remaining. If the mixture seems a bit too thick, you can add a tablespoon or two of water, but be careful not to make it too watery, as this will increase drying time. Aim for a consistency similar to thick applesauce.
Step 2: Cooking Down the Purée
Transfer the fruit purée to a medium saucepan. Place the saucepan over medium heat. You’ll want to cook the purée, stirring frequently, for about 10-15 minutes. The goal here is to reduce the moisture content of the fruit and thicken the mixture. As it cooks, you’ll notice it bubbling and becoming more viscous. Stirring is essential to prevent sticking and scorching on the bottom of the pan. You’re looking for the purée to be thick enough that it coats the back of a spoon and doesn’t immediately slide off.
Step 3: Preparing for Dehydration
Preheat your oven to its lowest setting, usually around 170°F to 200°F (75°C to 95°C). Line a baking sheet with parchment paper or a silicone baking mat. This is important to prevent the fruit leather from sticking to the pan and to make it easy to remove once it’s done. Spread the cooked fruit purée evenly over the prepared baking sheet. Aim for a thickness of about ¼ inch. Use an offset spatula or the back of a spoon to get a consistent layer, as this will ensure even drying. Make sure to go all the way to the edges of the parchment paper.
Step 4: The Drying Process
Place the baking sheet into your preheated oven. The drying time can vary significantly depending on your oven, the thickness of your fruit leather, and the humidity in your kitchen. It typically takes anywhere from 4 to 8 hours. You’ll want to check on it periodically, especially after the first few hours. The fruit leather is done when it’s no longer sticky to the touch and peels easily from the parchment paper. It should be pliable but not wet. You can test a small area by gently lifting an edge; if it still feels tacky or leaves residue on your finger, it needs more time. If your oven has a “warm” setting that’s around 150°F (65°C), that might be even better for a longer, slower dry that helps retain more of the fruit’s nutrients.
Step 5: Cooling and Cutting
Once your fruit leather is fully dried, carefully remove the baking sheet from the oven. Let the fruit leather cool completely on the baking sheet. This is crucial because it will become firmer as it cools. Once it’s completely cool, you can peel the fruit leather off the parchment paper. You can then cut it into strips or squares using a pizza cutter or a sharp knife. For a classic fruit roll-up look, you can roll the leather around a small piece of parchment paper. Store your homemade fruit leather in an airtight container at room temperature or in the refrigerator for longer storage. It should stay fresh for about a week. Enjoy your delicious and healthy homemade creation!
Conclusion:
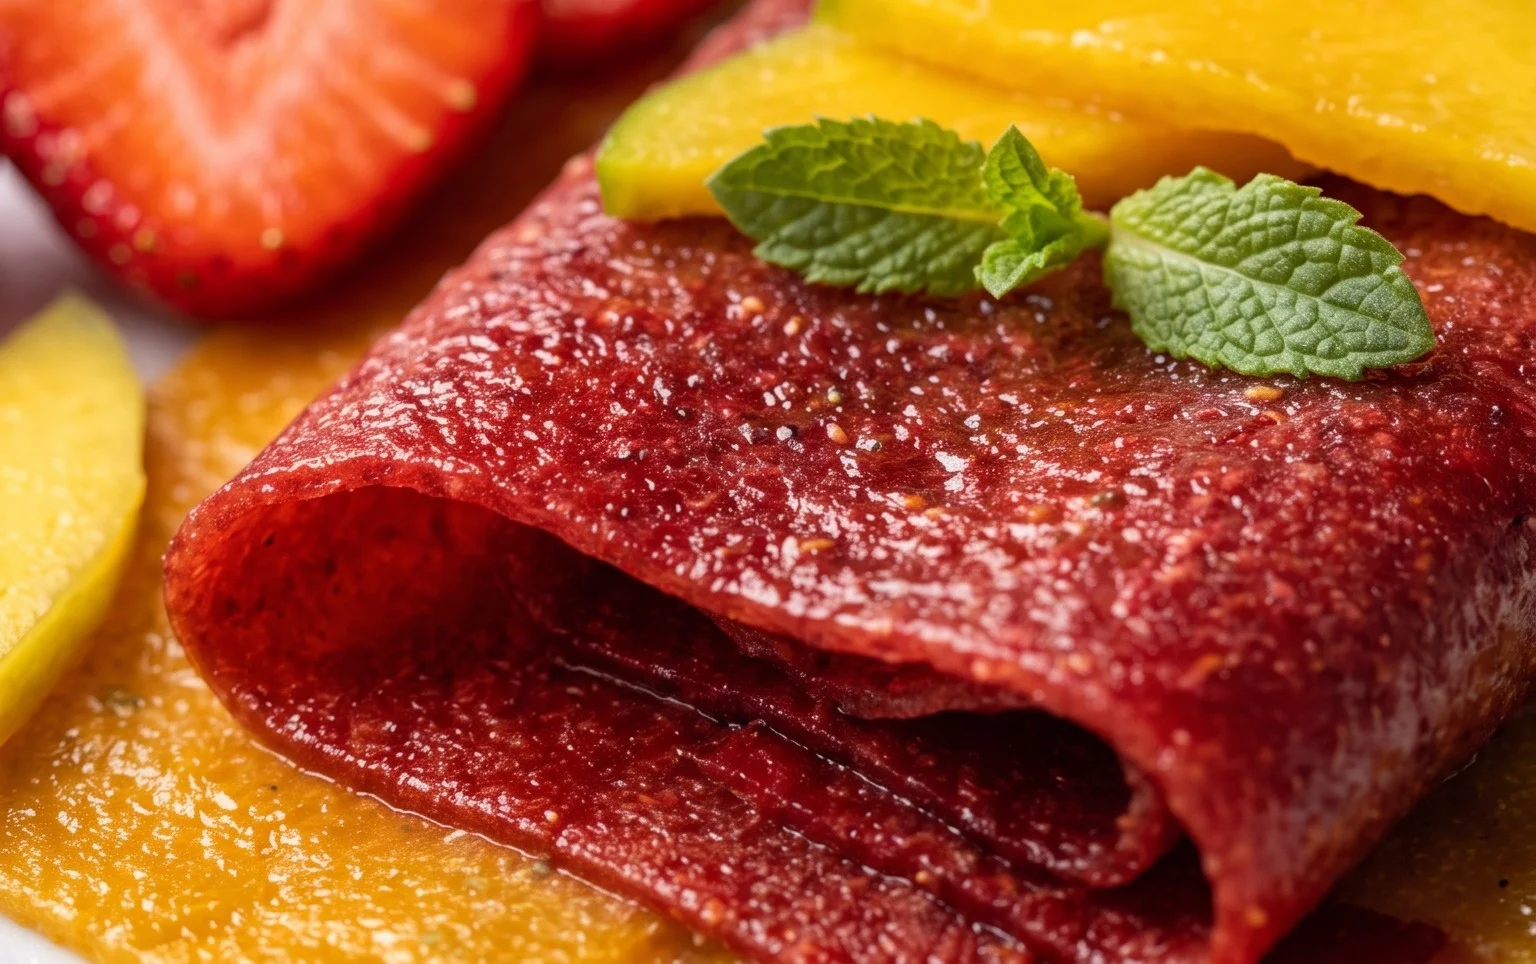
Making your own fruit leather is a truly rewarding experience! This homemade fruit leather recipe is fantastic because it allows you to control exactly what goes into your treats, meaning no artificial preservatives, added sugars, or mystery ingredients. You get to harness the natural sweetness and vibrant flavors of fresh fruit, creating a healthy and delicious snack that’s perfect for lunches, after-school treats, or anytime you need a burst of fruity goodness. The process itself is surprisingly simple, making it accessible for bakers of all levels. Get ready to impress yourself and your loved ones with these delightful, chewy creations!
Serving suggestions are endless! Enjoy fruit leather on its own as a delightful snack, cut into fun shapes for kids’ parties, or even as a sweet counterpoint to a cheese board. For variations, the possibilities are truly limited only by your imagin extractation. Experiment with different fruit combinations like strawberry-banana, mango-lime, or apple-cinnamon. You can also add a pinch of spice like gin extractger or cinnamon, or even a touch of honey or maple syrup for added sweetness if your fruit isn’t quite ripe enough. I highly encourage you to give this recipe a try. You’ll discover how easy and satisfying it is to create your own healthy, homemade fruit leather.
FAQs
What is the best way to store homemade fruit leather?
Once cooled and cut, store your homemade fruit leather in an airtight container at room temperature for up to two weeks. For longer storage, you can wrap individual pieces tightly in plastic wrap and then place them in a freezer-safe bag. It can be frozen for several months.
Can I use frozen fruit for this recipe?
Absolutely! Frozen fruit is a great option, especially when your favorite fruits are out of season. Simply thaw the frozen fruit completely and drain off any excess liquid before proceeding with the recipe. This will ensure your fruit leather has the perfect chewy texture.
My fruit leather seems too sticky. What can I do?
If your fruit leather is too sticky after drying, it might not have been dehydrated enough. You can place it back in the oven at a very low temperature (around 150°F or 65°C) for an additional hour or two, checking frequently. Alternatively, lightly dusting the cut pieces with a tiny bit of cornstarch or powdered sugar can help reduce stickiness, though this will add a slight sweetness.
Homemade Fruit Leather
Create delicious, healthy fruit leather at home with this simple recipe. A fantastic way to preserve fresh fruit and enjoy a healthy snack.
Ingredients
-
2 cups fruit, chopped
-
3 tbsp white sugar
-
½ whole lemon, just the juice
-
1 tbsp cornstarch
-
1 tsp vanilla extract
Instructions
-
Step 1
Combine chopped fruit and sugar in a saucepan. Cook over medium heat, stirring occasionally, until fruit is soft and has released its juices. -
Step 2
Remove from heat. If using a blender, carefully transfer the fruit mixture to the blender. If using an immersion blender, blend directly in the saucepan. -
Step 3
Blend until smooth. Stir in the lemon juice, cornstarch, and vanilla extract. -
Step 4
Pour the mixture onto a baking sheet lined with parchment paper, spreading it thinly and evenly. -
Step 5
Bake at 170°F (77°C) for 2-4 hours, or until the fruit leather is no longer sticky to the touch. Cooking time will vary depending on thickness and oven. -
Step 6
Let cool completely before cutting into strips.
Important Information
Nutrition Facts (Per Serving)
It is important to consider this information as approximate and not to use it as definitive health advice.
Allergy Information
Please check ingredients for potential allergens and consult a health professional if in doubt.