Easy Homemade Strawberry Ice Cream Recipe – Sweet Treat
Homemade strawberry ice cream is more than just a dessert; it’s a taste of pure summer bliss captured in every creamy scoop. There’s something inherently magical about biting into a perfectly chilled spoonful of ice cream bursting with the vibrant, sweet-tart flavor of fresh strawberries. Forget those artificial-tasting, store-bought versions that promise the essence of summer but deliver disappointment. When you make homemade strawberry ice cream, you’re in control of the ingredients, ensuring a truly authentic and intensely fruity experience that will make your taste buds sing. This is the kind of treat that evokes childhood memories, fills your kitchen with an irresistible aroma, and brings smiles to everyone who gathers around for a taste. It’s simple, yet utterly divine, and I can’t wait to share how you can achieve this frozen perfection right in your own home.
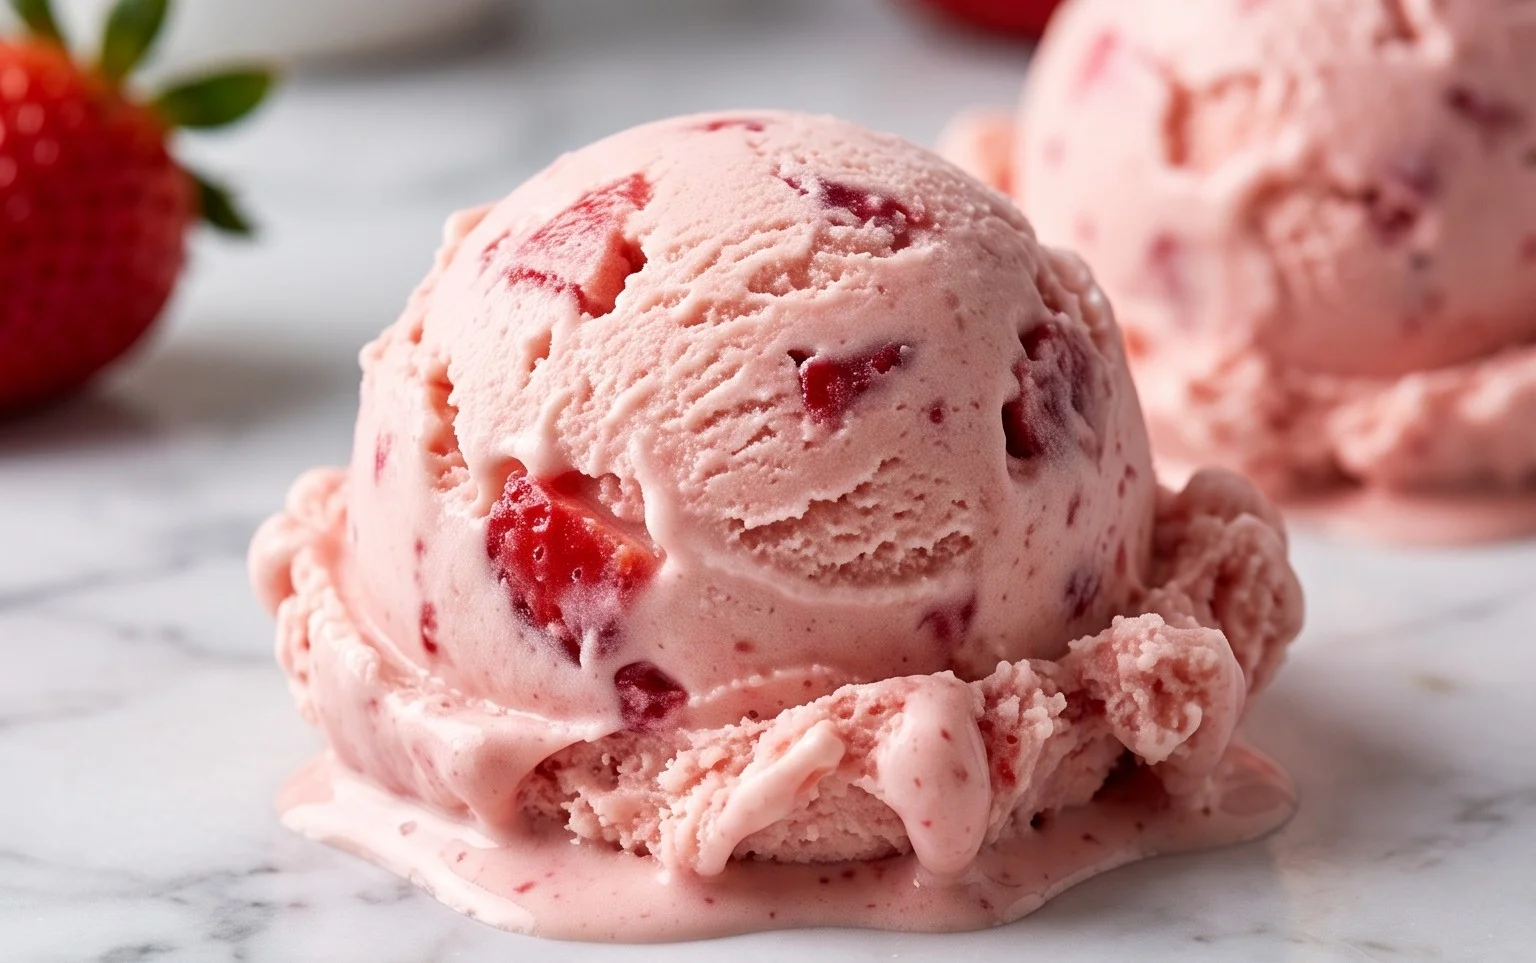
Homemade Strawberry Ice Cream
There’s something undeniably magical about homemade ice cream. The creamy texture, the vibrant flavor, the satisfaction of creating something delicious from scratch – it’s a culinary adventure I embark on every summer. And when it comes to summer flavors, few can rival the sweet, slightly tart perfection of fresh strawberries. This recipe for Homemade Strawberry Ice Cream is incredibly simple, requiring no fancy equipment beyond a good blender or food processor and, ideally, an ice cream maker. But even if you don’t have an ice cream maker, I’ll share a no-churn method that yields equally delightful results.
This recipe is designed to let the natural sweetness and bright flavor of the strawberries shine through. We’ll enhance their taste with a touch of honey and sugar, a whisper of lemon juice to brighten their profile, and a rich, creamy base that forms the perfect canvas for our star ingredient. Get ready to impress yourself and your loved ones with this incredibly satisfying treat.
Ingredients:
Cooking Instructions
This recipe is divided into a few key stages, from preparing the strawberry base to churning and freezing the ice cream. Each step is designed to build upon the last, ensuring a perfectly smooth and flavorful result.
1. Preparing the Strawberry Puree:
The first step is to create our vibrant strawberry base. In a blender or food processor, combine the hulled and diced strawberries with the honey, granulated sugar, and lemon juice. You want to process this mixture until it’s smooth and well combined. I like to give it a good minute or two of blending to ensure no large strawberry chunks remain, creating a silky-smooth texture that will integrate seamlessly into our ice cream. The honey adds a subtle floral sweetness that complements the strawberries beautifully, while the sugar provides that essential sweetness we associate with ice cream. The lemon juice is a secret weapon here; it doesn’t make the ice cream taste lemony, but rather enhances the natural tartness and vibrancy of the strawberries, preventing them from tasting flat.
2. Chilling the Base:
Once your strawberry puree is smooth, pour it into a bowl. Now, we need to incorporate the creamy elements. Add the heavy whipping cream, half and half, and vanilla extract to the strawberry mixture. Stir everything together thoroughly until it’s completely combined. For the best results, especially if you’re using an ice cream maker, it’s crucial to chill this mixture thoroughly. Cover the bowl tightly with plastic wrap and refrigerate for at least 2 to 3 hours, or preferably overnight. A cold base churns more efficiently, leading to smaller ice crystals and a smoother, creamier ice cream. If you’re short on time, you can place the bowl in an ice bath and stir frequently, but overnight chilling is truly the golden ticket to superior texture.
3. Churning the Ice Cream (with Ice Cream Maker):
If you have an ice cream maker, now is the time to bring it into play! Ensure your ice cream maker’s bowl is frozen according to the manufacturer’s instructions (usually 12-24 hours in advance). Once the base is thoroughly chilled, pour it into the frozen ice cream maker bowl. Turn on the machine and let it churn according to its specific directions. This typically takes about 20-30 minutes. The mixture will thicken and become soft-serve consistency. You’ll notice it clingin extractg to the sides of the churner. Don’t over-churn; we’re looking for that lovely, thick yet still scoopable stage.
4. Churning the Ice Cream (No-Churn Method):
If you don’t have an ice cream maker, don’t despair! We can still achieve delicious results. Pour your chilled strawberry base into a shallow, freezer-safe container. Place it in the freezer. After about 45 minutes to an hour, when the edges start to freeze, remove it from the freezer and vigorously whisk or beat the mixture. Break up any ice crystals that have formed. Return it to the freezer. Repeat this process every 30-45 minutes for about 3-4 hours, or until the ice cream is firm enough to scoop. This frequent stirring is essential to break down ice crystals and create a creamier texture without churning. It takes a little more effort, but the reward is absolutely worth it.
5. Freezing and Firming:
Once your ice cream has reached a soft-serve consistency (whether from churning or the no-churn method), transfer it to a freezer-safe container with a tight-fitting lid. For the best flavor and texture, press a piece of parchment paper or plastic wrap directly onto the surface of the ice cream before sealing the container. This helps prevent ice crystals from forming on top. Place the container in the freezer for at least 4-6 hours, or until the ice cream is firm enough to scoop. For that perfect scoopable consistency, you might want to let it sit at room temperature for about 5-10 minutes before serving. Enjoy your incredibly fresh, homemade strawberry ice cream!
Conclusion:
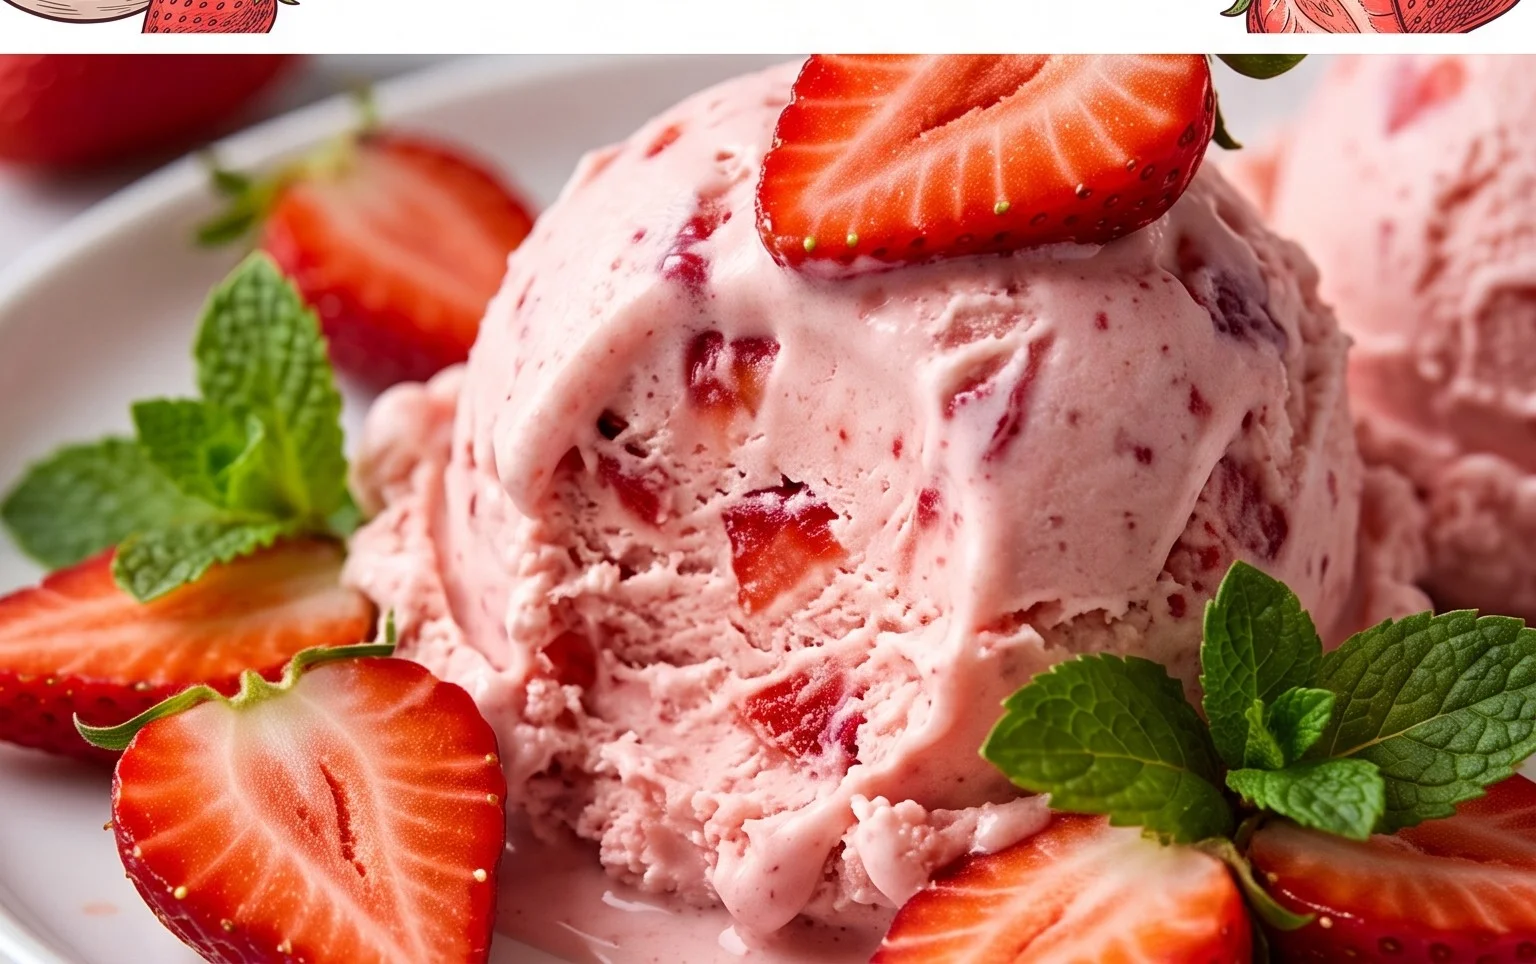
There you have it – your guide to creating incredibly delicious, homemade strawberry ice cream! This recipe is fantastic because it uses fresh, vibrant strawberries to deliver a natural sweetness and bright, fruity flavor that store-bought versions simply can’t match. The creamy texture achieved through simple ingredients like heavy cream and condensed milk makes every scoop a pure delight. It’s a rewarding process that results in a treat perfect for any occasion, from a simple summer afternoon pick-me-up to a show-stopping dessert for guests.
I encourage you to give this homemade strawberry ice cream a try! It’s surprisingly easy and the satisfaction of enjoying something so wonderfully homemade is immense. Experiment with serving it simply in a bowl, piled high on a warm brownie, or blended into a decadent milkshake. You can also get creative with variations; consider adding a swirl of balsamic glaze for an adult twist, a sprinkle of toasted almonds for crunch, or even a hint of basil for an unexpected herbaceous note.
Frequently Asked Questions:
Can I make this without an ice cream maker?
Absolutely! While an ice cream maker makes the churning process effortless, you can achieve a similar texture without one. Simply freeze the base in a shallow container and stir vigorously with a fork every 30-45 minutes for the first 2-3 hours until it’s firm but scoopable. This helps break up ice crystals and create a smoother result.
How long will my homemade strawberry ice cream last?
Stored properly in an airtight container in the freezer, your delicious homemade strawberry ice cream should last for about 1-2 weeks. For the best flavor and texture, try to consume it within the first week. Enjoying it fresh is always recommended!
Homemade Strawberry Ice Cream
A simple and delicious homemade strawberry ice cream recipe made with fresh strawberries and minimal ingredients.
Ingredients
-
1 1/2 cups strawberries, hulled and diced
-
2 Tbsp honey
-
1/2 cup granulated sugar
-
1 tsp lemon juice
-
1 cup heavy whipping cream
-
1/2 cup half and half
-
1 tsp vanilla extract
Instructions
-
Step 1
Combine diced strawberries, honey, granulated sugar, and lemon juice in a bowl. Stir well and let sit for 15-20 minutes to macerate. -
Step 2
Mash the strawberries lightly with a fork or potato masher to break them down slightly, but leave some texture. -
Step 3
In a separate bowl, whisk together the heavy whipping cream, half and half, and vanilla extract until well combined. -
Step 4
Pour the cream mixture into the mashed strawberry mixture and stir until everything is evenly incorporated. -
Step 5
Pour the mixture into an ice cream maker and churn according to the manufacturer’s instructions. -
Step 6
Transfer the churned ice cream to an airtight container and freeze for at least 4 hours, or until firm.
Important Information
Nutrition Facts (Per Serving)
It is important to consider this information as approximate and not to use it as definitive health advice.
Allergy Information
Please check ingredients for potential allergens and consult a health professional if in doubt.