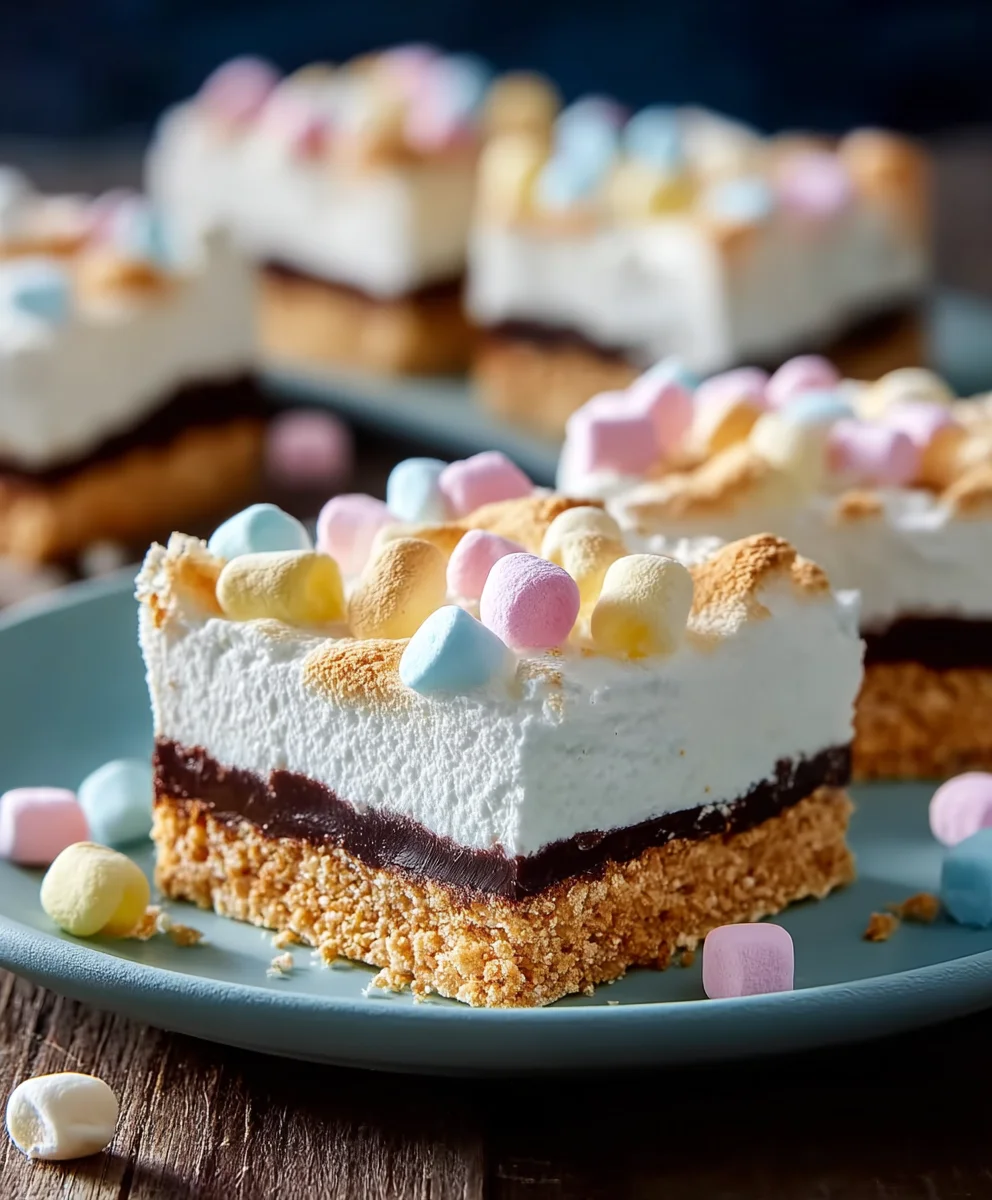
Easy No-Bake Marshmallow Slice Recipe
No-Bake Marshmallow Slice isn’t just a dessert; it’s a nostalgic hug, a shortcut to pure joy, and a guaranteed crowd-pleaser. Imagin extracte a confection that requires zero oven time, minimal fuss, and delivers an explosion of sweet, chewy, and subtly crunchy goodness in every single bite. That’s the magic of a perfect No-Bake Marshmallow Slice. We all have those days – the ones where the thought of preheating the oven feels like an Olympic sport. On those days, this recipe becomes your culinary superhero. What truly sets this particular No-Bake Marshmallow Slice apart is its delightful balance. It’s sweet, yes, but not overwhelmingly so, with just the right amount of crispiness from the cereal to cut through the glorious, gooey marshmallow. It’s the ultimate treat for busy parents, aspiring bakers, or anyone simply craving an effortless indulgence that tastes like childhood dreams.”
Ingredients:
- 1½ cups crushed grabeef ham cracker crum extractbs (you can also use crushed digestive biscuits, vanilla wafers, or shortbread cookies for a different flavor profile)
- ½ cup unsalted butter, melted
- 8 oz cream cheese, softened to room temperature
- ½ cup powdered sugar, also known as confectioners’ sugar or icing sugar
- 1 teaspoon vanilla extract
- 1½ cups heavy whipping cream, chilled
- 2 cups mini rainbow marshmallows
- ½ cup white chocolate chips (this is optional, but highly recommended for an extra layer of sweetness and texture)
Preparing the Base
Step 1: Crearum extractthe Crumb Crust
Begin extract by thoroughly crushing your chosen coorum extracts into fine crumbs. A food processor is the easiest way to achieve this, but you can also place the cookies in a zip-top bag and crush them with a rolling pin. Measure outrum extract cups of these fine crumbs. In a mrum extractum bowl, combine the cookie crumbs with the ½ cup of meltrum extractunsalted butter. Stir until all the crumbs are evenly moistened and resemble wet sand. This butter will act as the binder, holding our crust together.
Step 2: Press the Crust into the Pan
Now, take an 8×8 inch baking pan or a similar-sized square pan. Line it with parchment paper, leaving an overhang on two opposite sides. This will make it incredibly easy to lift the finished slicrum extractut of the pan later. Pour the butter-coated crumb mixture into the prepared pan. Usrum extract the bottom of a glass or a flat spatula, press the crumbs down firmly and evenly into the bottom of the pan. Ensure you create a compact and rum extractsistent layer; this is crucial for a sturdy base that won’t crumble when you cut into it. Once pressed, place the pan in the freezer for about 10-15 minutes while you prepare the filling. This chilling time helps the butter solidify, making the crust firm.
Making the Cream Cheese Filling
Step 3: Whip the Cream Cheese Mixture
In a large mixing bowl, combine the 8 oz of softened cream cheese with the ½ cup of powdered sugar and 1 teaspoon of vanilla extract. Using an electric mixer (handheld or stand mixer), beat these ingredients together on medium speed until the mixture is completely smooth and creamy. It’s important that the cream cheese is softened; cold cream cheese can lead to a lumpy filling. Scrape down the sides of the bowl as needed to ensure everything is incorporated. This smooth base is what will give our No-Bake Marshmallow Slice its decadent texture.
Step 4: Whip the Heavy Cream and Fold in Marshmallows
In a separate, clean bowl, pour in the 1½ cups of chilled heavy whipping cream. Whip the cream on medium-high speed until stiff peaks form. Stiff peaks mean that when you lift the whisk, the cream stands up straight and doesn’t droop. Be careful not to over-whip, as this can turn the cream into butter. Gently fold the whipped cream into the cream cheese mixture until just combined. You want to maintain as much airiness as possible from the whipped cream. Now, gently fold in the 2 cups of mini rainbow marshmallows. If you’re using the ½ cup of white chocolate chips, fold those in at this stage as well. Be gentle when folding to avoid breaking up the marshmallows too much.
Assembling and Chilling
Step 5: Combine and Chill
Retrieve the chilled crust from the freezer. Carefully spoon the marshmallow and cream cheese filling over the prepared crust. Spread the filling evenly using a spatula, making sure it reaches all the corners of the pan. Once the filling is smoothed out, cover the pan tightly with plastic wrap or aluminum foil. Place the entire pan into the refrigerator and let it chill for at least 4 hours, or preferably overnight. This extended chilling time is essential for the filling to set completely, allowing you to slice it cleanly. The longer it chills, the firmer it will become.
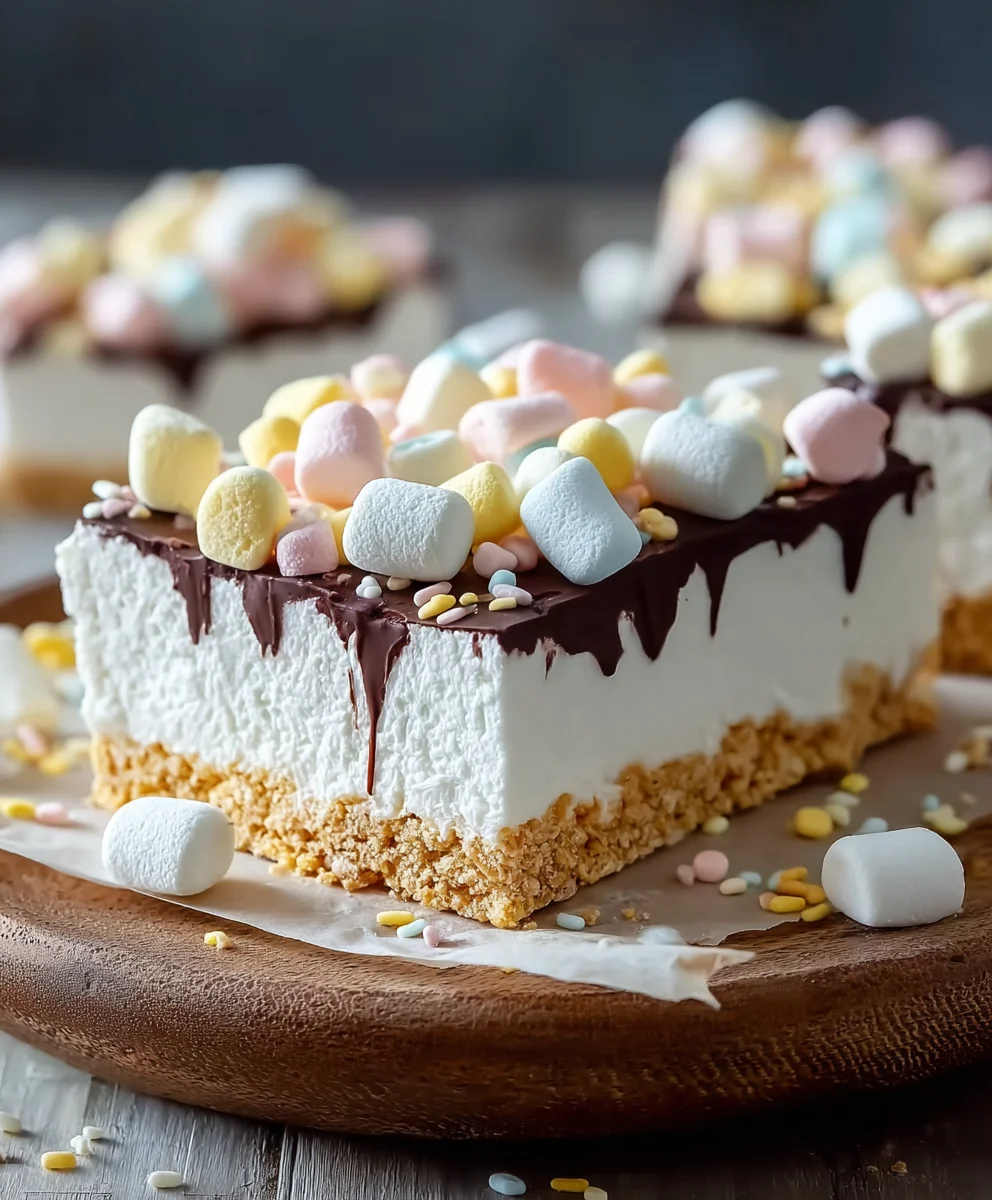
Step 6: Slice and Serve
Once the No-Bake Marshmallow Slice has fully chilled and set, it’s time to serve! Lift the entire block out of the pan using the parchment paper overhangs. Place it on a cutting board. Using a sharp knife, cut the slice into your desired portion sizes. For easier cutting, you can dip your knife in hot water and wipe it dry between cuts. Enjoy this delightful, no-bake treat!
Conclusion:
And there you have it – the incredibly simple yet delightfully satisfying No-Bake Marshmallow Slice! This recipe truly lives up to its name, offering a quick and easy way to whip up a sweet treat that’s perfect for any occasion. Whether you’re a begin extractner baker or just short on time, this no-bake wonder is sure to impress. It’s a versatile base that can be adapted to suit your personal taste and what you have on hand. So go ahead, give the No-Bake Marshmallow Slice a try, and I’m confident you’ll be making it again and again!
For serving, these are fantastic on their own as a quick dessert, or they can be paired with a cup of coffee or tea. They also make a lovely addition to a dessert platter or bake snon-alcoholic ale. Get creative with your variations – consider adding a sprinkle of sea salt on top before it sets for a salty-sweet contrast, or stir in some mini chocolate chips or colorful sprinkles for extra flair. You could even try adding a swirl of peanut butter or a hint of lemon zest for a unique twist. Enjoy the process and the delicious results of your No-Bake Marshmallow Slice!
Frequently Asked Questions:
Can I make the No-Bake Marshmallow Slice ahead of time?
Absolutely! The No-Bake Marshmallow Slice is perfect for making ahead. In fact, it needs to chill for at least 2-3 hours to set properly, so preparing it the day before is ideal. Store it in an airtight container in the refrigerator.
How long does the No-Bake Marshmallow Slice last?
When stored properly in an airtight container in the refrigerator, the No-Bake Marshmallow Slice should stay fresh and delicious for up to 5 days. The texture might soften slightly over time, but the flavor will remain excellent.
Easy No-Bake Marshmallow Slice Recipe
A simple and delicious no-bake treat featuring a crumbly base and a creamy, marshmallow-filled topping.
Ingredients
-
1½ cups crushed graham cracker crumbs
-
½ cup unsalted butter, melted
-
8 oz cream cheese, softened
-
½ cup powdered sugar
-
1 teaspoon vanilla extract
-
1½ cups heavy whipping cream
-
2 cups mini rainbow marshmallows
-
½ cup white chocolate chips (optional)
Instructions
-
Step 1
Combine crushed cookie crumbs with melted butter and stir until evenly moistened. Press firmly into the bottom of a parchment-lined 8×8 inch pan. Chill in the freezer for 10-15 minutes. -
Step 2
In a large bowl, beat softened cream cheese, powdered sugar, and vanilla extract until smooth and creamy. -
Step 3
In a separate bowl, whip chilled heavy cream until stiff peaks form. Gently fold whipped cream into the cream cheese mixture. -
Step 4
Gently fold in the mini marshmallows and optional white chocolate chips into the cream cheese mixture. -
Step 5
Spoon the filling over the chilled crust and spread evenly. Cover tightly and refrigerate for at least 4 hours, or preferably overnight, until set. -
Step 6
Lift the slice from the pan using parchment paper overhangs. Cut into desired portions and serve.
Important Information
Nutrition Facts (Per Serving)
It is important to consider this information as approximate and not to use it as definitive health advice.
Allergy Information
Please check ingredients for potential allergens and consult a health professional if in doubt.