Quick Pickled Red Onions- Easy Flavor Boost
Pickled Red Onions are a culinary game-changer, transforming ordinary meals into something extraordinary with their vibrant color and zesty tang. There’s a reason these ruby jewels are popping up on everything from tacos and avocado toast to charcuterie boards and salads. They offer that perfect balance of sweet, sour, and slightly peppery that cuts through richness and adds a delightful pop of flavor and texture. What truly makes pickled red onions so special is their incredible versatility. They’re not just a garnish; they’re a flavor enhancer, a vibrant visual statement, and surprisingly simple to make at home. Forget those store-bought jars with their often artificial flavors. With just a few basic ingredients and a little bit of patience, you can create your own batch of perfectly tangy, delightfully crunchy pickled red onions that will have everyone asking for your secret.
Ingredients:
How to Make the Best Pickled Red Onions
There’s something truly magical about pickled red onions. They transform an ordinary dish into something vibrant, zesty, and utterly delicious. The beautiful ruby hue they impart is just the begin extractning of their charm. These tangy, slightly sweet slivers of onion are incredibly versatile, acting as a stunning garnish for everything from tacos and salads to burgers and avocado toast. Plus, they are surprisingly easy to make right in your own kitchen! Forget those store-bought versions that can sometimes taste overly processed; making your own allows you to control the flavor profile and ensures you have a fresh, vibrant condiment ready whenever you need it.
The beauty of this recipe lies in its simplicity. With just a handful of pantry staples, you can create a condiment that elevates your meals. The key is the balance of acidity from the vinegar, the subtle sweetness, and the salt, which all work together to transform the sharp bite of raw onion into something wonderfully mellow and complex.
Preparing Your Onions
The first step to perfect pickled red onions is selecting the right onion. A large red onion is ideal because of its natural sweetness and beautiful color. You want an onion that feels firm and has a smooth, dry outer skin.
To prepare the onion, you’ll want to peel away the outer papery layers. Then, slice off the very top and bottom ends. This makes it easier to slice. The most common and visually appealing way to slice them for pickling is thinly. You can achieve this using a sharp knife and a steady hand, or for absolute uniformity and speed, a mandoline slicer is an excellent tool. Aim for slices about 1/8 to 1/4 inch thick. Thicker slices will result in a more substantial crunch, while thinner slices will soften more quickly and absorb the brine more readily. Whatever thickness you choose, try to keep it consistent for even pickling. Once sliced, you can either separate the rings or leave them in semi-circles, depending on your preference.
Creating the Pickling Brine
The brine is where all the magic happens. It’s a simple mixture that creates the perfect environment for transforming raw onions. In a small saucepan, combine your white vinegar and water. White vinegar is a classic choice for pickling because its clean, sharp flavor doesn’t overpower the other ingredients. The water helps to dilute the vinegar slightly, making it less intensely acidic and creating a more balanced flavor.
Next, you’ll add the sugar and kosher salt. The sugar, as mentioned, is optional but highly recommended for a touch of sweetness that beautifully counterbalances the vinegar. It also helps to draw out some of the onion’s natural sugars. If you’re watching your sugar intake or prefer a purely savory bite, you can omit it entirely or experiment with sugar substitutes like stevia or erythritol. The kosher salt is crucial for flavor and also plays a role in preserving the onions. It draws moisture out of the onions and helps to create that desirable crisp-tender texture.
Place the saucepan over medium heat. Stir the mixture gently until the sugar and salt have completely dissolved. You don’t need to bring the brine to a rolling boil; just heat it enough to ensure everything is incorporated. Once dissolved, remove the saucepan from the heat.
The Pickling Process
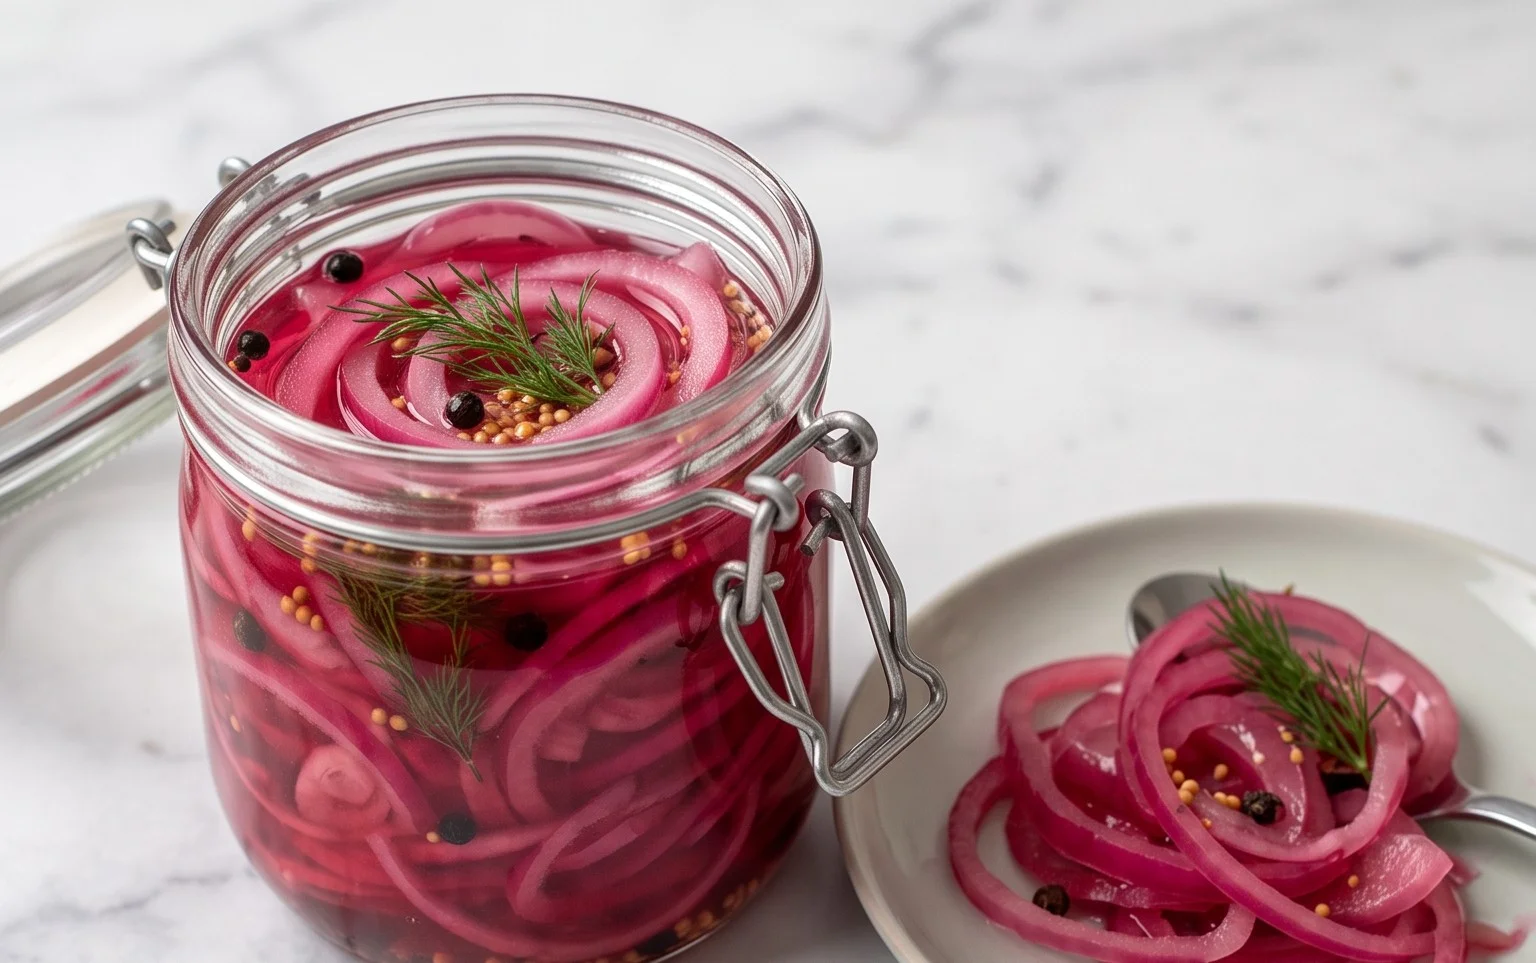
Now it’s time to bring it all together. Have a clean glass jar or heat-proof container ready. A mason jar works perfectly for this. Place your thinly sliced red onions into the jar. Pack them in, but don’t over-stuff them so tightly that the brine can’t circulate.
Carefully pour the warm pickling brine over the onions. Make sure the onions are completely submerged in the liquid. If you find that your onions are peeking out, you can add a splash more water and vinegar in a 1:1 ratio to ensure they are covered. You might notice the onions will immediately start to change color, turning a more vibrant pink as they begin extract to absorb the brine. This is a good sign!
Cooling and Letting Them Pickle
Once the onions are submerged in the brine, let the jar cool on your countertop for about 30 minutes. During this time, the onions will continue to soften and absorb the flavors of the brine. You’ll see the color deepening even further.
After the initial cooling period, you can either refrigerate the jar immediately or let them sit out a bit longer for a slightly more intense pickle. For best results and a good crunch, I recommend refrigerating them. Place the lid on the jar securely and pop it into the refrigerator.
When to Enjoy Them
The waiting game is the hardest part, but it’s so worth it! While you can technically eat them after an hour or two, the flavor truly develops and the texture becomes perfect after at least 2-4 hours in the refrigerator. For the absolute best flavor and texture, I like to let them pickle overnight. The longer they sit, the more the flavors meld and the onions soften to a delightful crisp-tender consistency.
These pickled red onions will keep in the refrigerator for at least two to three weeks, and often longer. The acidity of the brine acts as a natural preservative. You’ll find yourself reaching for them time and time again. They are perfect for adding a pop of color and tangy flavor to tacos, salads, sandwiches, burgers, grain bowls, and so much more. Enjoy your homemade deliciousness!
Conclusion:
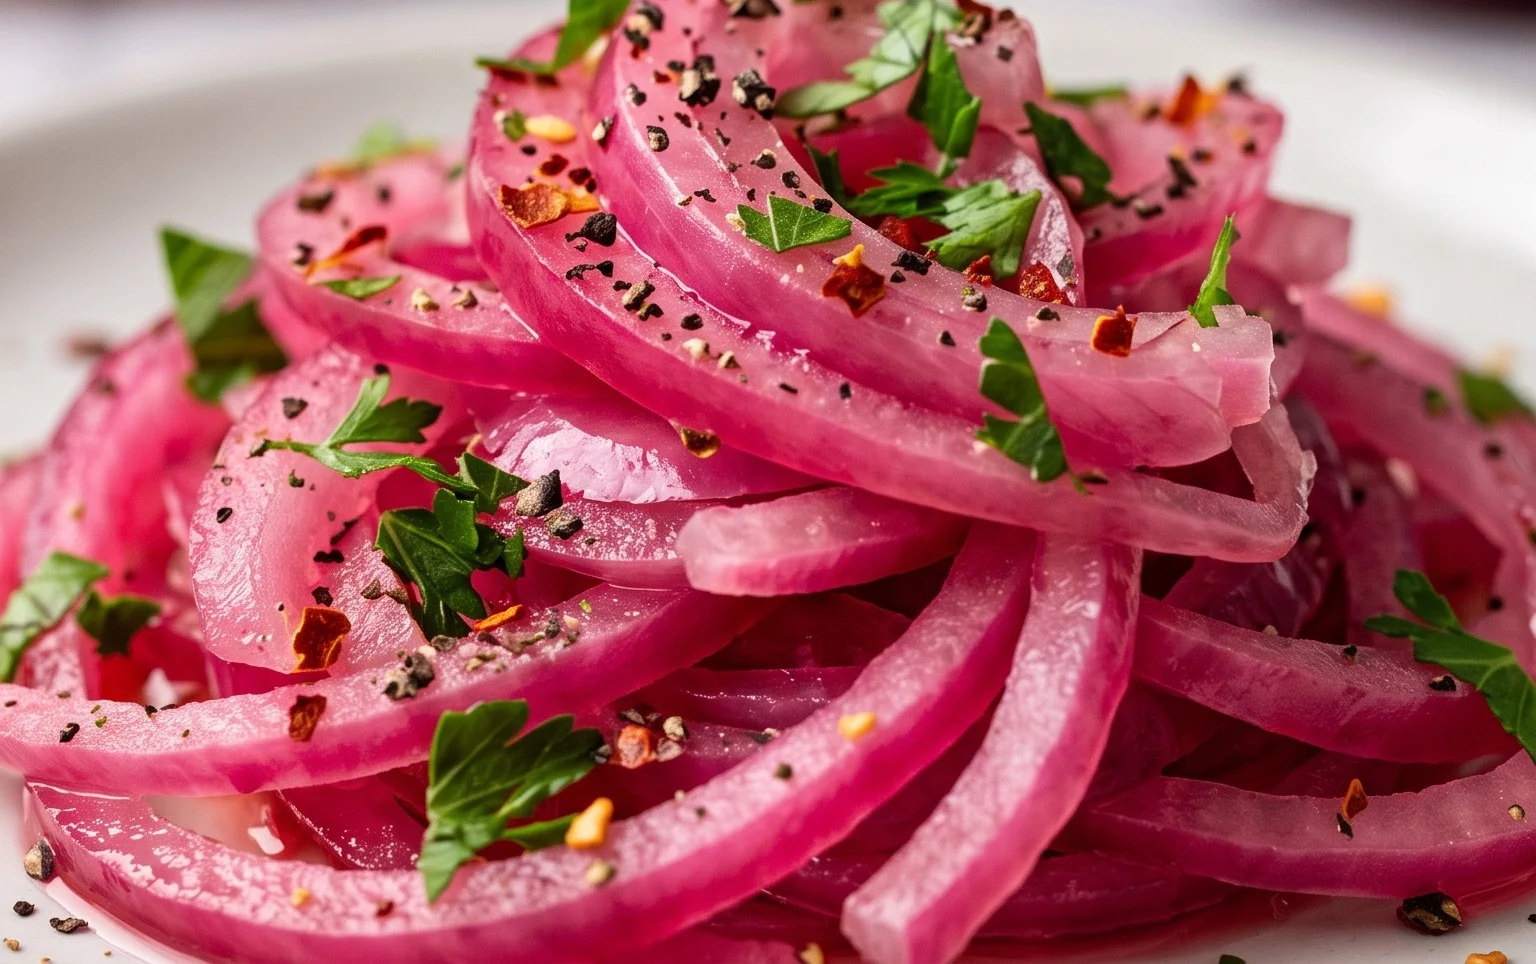
And there you have it! My simple recipe for perfect pickled red onions is ready to elevate your meals. This vibrant, tangy condiment is incredibly easy to make, requiring just a handful of ingredients and a little patience. The beauty of these pickled red onions lies in their versatility; they add a delightful pop of flavor and a gorgeous visual appeal to almost anything. From burgers and tacos to salads and sandwiches, they’re a game-changer. Don’t be afraid to experiment with different spices to make them your own!
I truly encourage you to give this recipe a try. It’s a fantastic way to add a gourmet touch to everyday dishes without much effort. The satisfying crunch and bright acidity will have you reaching for them again and again. Embrace the deliciousness and enjoy the wonderful results!
Frequently Asked Questions:
How long do pickled red onions last?
Stored properly in an airtight container in the refrigerator, my pickled red onions typically last for up to 2-3 weeks. The brine helps to preserve them, and their flavor actually deepens over time, though they are best enjoyed within the first couple of weeks for optimal crunch.
Can I make pickled red onions spicier?
Absolutely! For a spicier kick, you can add a pinch of red pepper flakes to the brine mixture before pouring it over the onions. You could also include a sliced jalapeño or a small piece of fresh chili pepper in the jar while they pickle.
What if I don’t have red grape juice vinegar?
While red grape juice vinegar provides a classic tang and color, you can substitute it with apple cider vinegar or white grape juice vinegar for a slightly different flavor profile. Just ensure it’s a good quality vinegar for the best results.
Pickled Red Onions
Quick and easy pickled red onions, perfect for tacos, sandwiches, and salads.
Ingredients
-
1 large Red onion, thinly sliced
-
1 cup White Vinegar
-
1 cup Water
-
1 tablespoon Sugar
-
2 teaspoons Kosher salt
Instructions
-
Step 1
Thinly slice the red onion. -
Step 2
In a small saucepan, combine the white vinegar, water, sugar, and kosher salt. -
Step 3
Heat the mixture over medium heat, stirring until the sugar and salt are dissolved. Do not boil. -
Step 4
Place the sliced red onion in a heatproof jar or container. -
Step 5
Pour the warm brine over the onions, ensuring they are fully submerged. -
Step 6
Let the mixture cool to room temperature, then cover and refrigerate for at least 30 minutes before serving.
Important Information
Nutrition Facts (Per Serving)
It is important to consider this information as approximate and not to use it as definitive health advice.
Allergy Information
Please check ingredients for potential allergens and consult a health professional if in doubt.