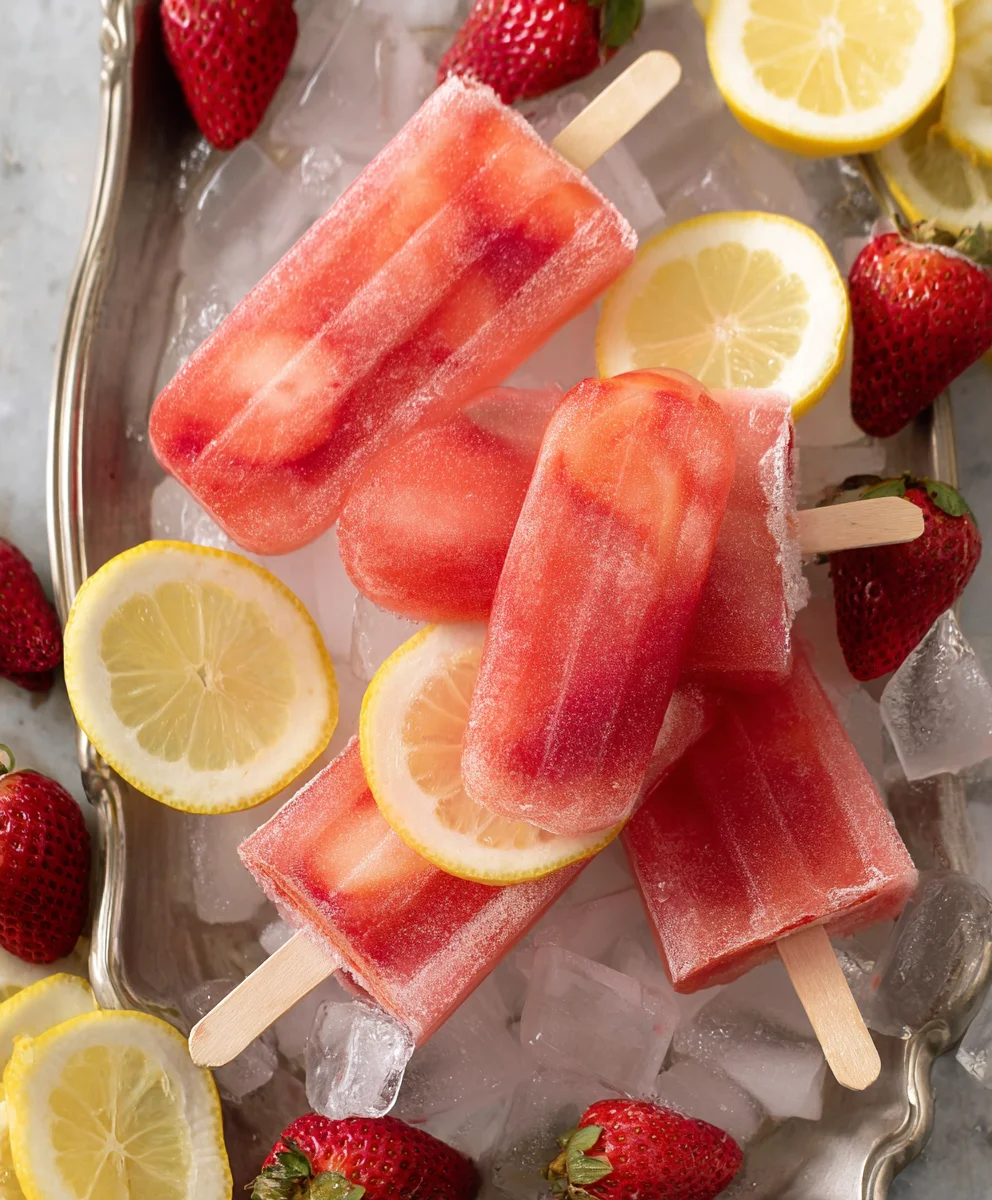
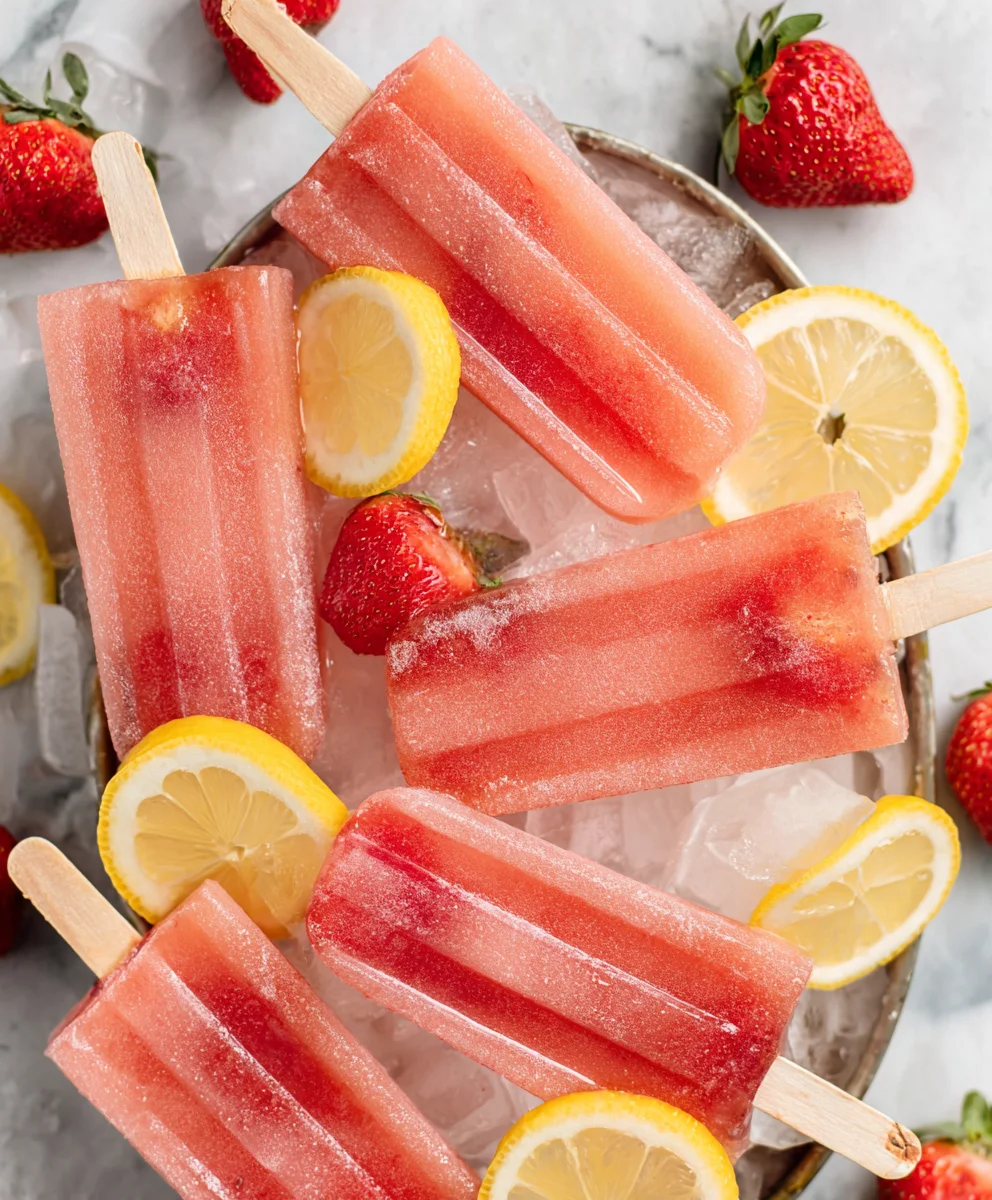
Strawberry Lemonade Popsicles – Refreshing Summer Treat
Strawberry Lemonade Popsicles are more than just a frozen treat; they’re a vibrant burst of summer sunshine in every lick. Imagin extracte the perfect balance of sweet, ripe strawberries mingling with the zesty, invigorating tang of fresh lemon. It’s that delightful contrast, that harmonious blend of sweet and tart, that makes these popsicles so utterly irresistible. Whether you’re looking for a way to cool down on a sweltering afternoon, a fun activity to do with the kids, or simply a nostalgic nod to carefree days, these Strawberry Lemonade Popsicles deliver. They’re incredibly easy to make, requiring just a few simple ingredients that you likely already have on hand. What truly sets them apart is their natural goodness and customizable sweetness, allowing you to craft a treat that’s perfectly tailored to your taste. Get ready to experience pure bliss with every frosty bite!
Ingredients:
- 1 container (59 fl oz) Simply Lemonade
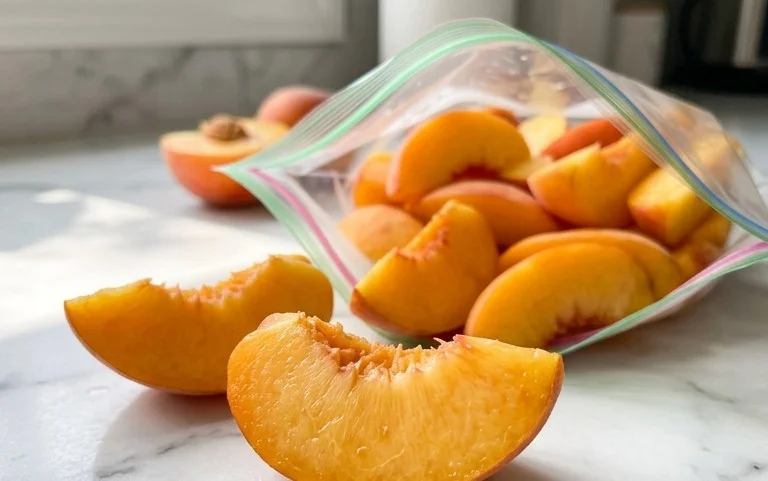
- 1 cup fresh strawberries, hulled and diced
- 1 tablespoon granulated sugar
Preparing the Strawberry Lemonade Base
Macerating the Strawberries
The first step in creating these delightful Strawberry Lemonade Popsicles is to get our strawberries ready to infuse their vibrant flavor and color into the lemonade. You’ll want to take your cup of hulled and diced strawberries and place them in a small bowl. To this, add the 1 tablespoon of granulated sugar. The sugar doesn’t just add a touch of sweetness; it also helps to draw out the natural juices from the strawberries, creating a lovely syrupy consistency and intensifying their flavor. Gently stir the strawberries and sugar together to ensure they are evenly coated. Let this mixture sit at room temperature for at least 15-20 minutes. You’ll notice the strawberries will start to soften and release their delicious juices, creating a beautiful, concentrated strawberry syrup. This maceration process is key to ensuring you get a strong strawberry flavor in every bite of your popsicle.
Combining the Flavors
Once your strawberries have had a chance to macerate, it’s time to bring them together with the lemonade. Open your container of Simply Lemonade. I find that using a store-bought lemonade like Simply Lemonade is a fantastic shortcut because it already has a well-balanced sweet and tart flavor profile, which is perfect for popsicles. Pour the entire container of lemonade into a large pitcher or bowl. Now, carefully spoon the macerated strawberries, including all that lovely syrup you’ve created, into the lemonade. Give it a good stir. You want to ensure the strawberry juice is fully incorporated into the lemonade. Don’t worry if there are still small pieces of strawberry; these will add wonderful texture and visual appeal to your finished popsicles. Taste the mixture at this stage. If you prefer a sweeter popsicle, you can add a little more sugar, a tablespoon at a time, stirring until dissolved. Conversely, if you want it tarter, you could add a squeeze of fresh lemon juice. However, for a classic Strawberry Lemonade Popsicle, the balance achieved by the macerated strawberries and the Simply Lemonade is usually spot on.
Assembling the Popsicles
Filling the Molds
Now comes the fun part – transforming this delicious liquid into frozen treats! Get your popsicle molds ready. If you have standard plastic popsicle molds, make sure they are clean and dry. If you are using silicone molds, they are usually quite flexible and easy to work with. Carefully pour the strawberry lemonade mixture into each of your popsicle molds. Be sure not to overfill them, as the liquid will expand slightly when it freezes. A good rule of thumb is to leave about a quarter-inch of space at the top of each mold. You can use a small ladle or a steady pour from your pitcher to fill them neatly. For an extra visual treat, you can even try to ensure that each mold gets a good amount of the diced strawberries. This will create beautiful flecks of red throughout your popsicles.
Inserting the Sticks
Once your molds are filled, it’s time to add the popsicle sticks. If your popsicle molds have built-in stick holders or a lid that secures the sticks, follow the instructions for your specific molds. For more basic molds, you might need to insert the sticks after the popsicles have partially frozen. A good technique is to freeze the filled molds for about 1-2 hours until they are semi-frozen. Then, carefully insert the popsicle sticks straight into the center of each mold. This will help the sticks stand up straight and prevent them from leaning to one side. If you are using molds that have slots for sticks, you can insert them immediately after filling. The semi-frozen method is particularly useful if you want to ensure your sticks are perfectly centered in your popsicles.
Freezing and Enjoying
The Freezing Process
Place the filled and stick-equipped popsicle molds onto a flat surface in your freezer. A baking sheet can be very helpful here, as it provides a stable base and catches any potential drips. Ensure the molds are placed so they are level. This will help the popsicles freeze evenly. Now comes the hardest part: waiting! Allow the popsicles to freeze completely. This typically takes at least 6-8 hours, but overnight is even better to ensure they are solid and ready to enjoy. Resist the temptation to check on them too often, as opening and closing the freezer can prolong the freezing time. The goal is a hard, fully frozen treat.
Unmolding Your Popsicles
Once your Strawberry Lemonade Popsicles are completely frozen, it’s time to get them out of their molds. If you’re using plastic molds, the easiest way to unmold them is to run the outside of the mold under warm water for a few seconds. Be careful not to use water that is too hot, as this can start to melt the popsicle prematurely. Gently wiggle the popsicle stick, and the popsicle should slide out smoothly. For silicone molds, you can often just peel the mold away from the frozen popsicle. If you’re having trouble, a quick dip in warm water should do the trick. Once unmolded, you can place your delicious Strawberry Lemonade Popsicles on a piece of parchment paper or wax paper in the freezer to keep them from sticking together if you’re making a large batch. Enjoy these refreshing, homemade treats on a warm day!
Conclusion:
And there you have it – your ultimate guide to crafting the most refreshing and delicious Strawberry Lemonade Popsicles! We’ve walked through each step, ensuring you can achieve that perfect balance of sweet strawberries and zesty lemonade in every icy bite. These popsicles are more than just a treat; they’re a vibrant burst of summer, perfect for cooling down on a hot day, celebrating a special occasion, or simply indulgin extractg in a moment of sweet bliss. I encourage you to give this recipe a try, and don’t be afraid to experiment!
For servgin extract, imagine these gorgeous pink delights at your next backyard BBQ, a kids’ birthday party, or even as a sophisticated dessert after a light summer meal. They pair wonderfully with a fresh salad or grilled chicken. And the variations are endless! Feeling adventurous? Try adding a few fresh mint leaves to the mix for an extra zing, or perhaps a swirl of yogurt for a creamy texture. You could even layer different fruits or juices to create a rainbow effect. The possibilities are truly as bright as the sunshine!
Frequently Asked Questions:
Can I make these Strawberry Lemonade Popsicles without a popsicle mold?
Absolutely! If you don’t have popsicle molds, you can use small paper cups or even clean yogurt containers. Pour your mixture into them, insert popsicle sticks once they’re partially frozen (about 1-2 hours in), and freeze until solid. You might need to peel off the paper cup before enjoying your popsicle.
How long do Strawberry Lemonade Popsicles last in the freezer?
When stored properly in an airtight container or freezer bag, your homemade Strawberry Lemonade Popsicles can last for up to 2-3 months. However, they are best enjoyed within the first month for optimal flavor and texture.
Strawberry Lemonade Popsicles – Refreshing Summer Treat
A delightful and refreshing homemade popsicle perfect for a hot summer day, combining the tartness of lemonade with the sweetness of fresh strawberries.
Ingredients
-
1 container (59 fl oz) Simply Lemonade
-
1 cup fresh strawberries, hulled and diced
-
1 tablespoon granulated sugar
-
Ice cube molds
-
Popsicle sticks
-
Water (for unmolding)
Instructions
-
Step 1
Macerate the strawberries: In a small bowl, combine the diced strawberries and granulated sugar. Stir gently and let sit at room temperature for 15-20 minutes to release juices and create a syrup. -
Step 2
Combine the flavors: Pour the Simply Lemonade into a large pitcher. Add the macerated strawberries and their syrup to the lemonade. Stir well to combine. Taste and adjust sweetness or tartness if desired. -
Step 3
Fill the molds: Carefully pour the strawberry lemonade mixture into popsicle molds, leaving about a quarter-inch of space at the top for expansion when frozen. -
Step 4
Insert the sticks: If using molds with built-in stick holders, insert them now. For other molds, freeze the filled molds for 1-2 hours until semi-frozen, then insert popsicle sticks into the center of each. -
Step 5
Freeze the popsicles: Place the filled and stick-equipped molds on a flat surface in the freezer. Freeze for at least 6-8 hours, or preferably overnight, until completely solid. -
Step 6
Unmold and enjoy: To unmold, run the outside of the molds under warm water for a few seconds. Gently wiggle the popsicle stick, and the popsicle should slide out. Place on parchment paper and refreeze if needed. Enjoy!
Important Information
Nutrition Facts (Per Serving)
It is important to consider this information as approximate and not to use it as definitive health advice.
Allergy Information
Please check ingredients for potential allergens and consult a health professional if in doubt.